Spring 2024 — Building a Wooden Gazebo Using a Kit from Tuin
We decided our next project would be a garden gazebo, so we ordered a Kos Larch gazebo from Tuin.
Tuin told us the delivery would be way longer than initially envisaged — would we like an alternative model? But we had our hearts set on that one and we could delay, especially as the weather was dire anyway.
The kit turned up on a pallet, delivered by our very friendly and helpful local logistics firm E & S J Walpole Ltd. They used a Moffat forklift to get the pallet to our chosen location, despite our rough and inclined driveway.
Checking the components, the dimensions seemed at odds with the enclosed plans. Then we realised the plans were for the Syros gazebo rather than the Kos. An email to Tuin resulted in a reply with a set of plans for the Kos (which made a lot more sense!).
We reckoned this build would be a doddle compared with our previous Tuin one, which was a very substantial Olaug cabin, although we were using some new, for us, untested techniques this time.
For previous builds we have painted the timber with five coats for the external parts: two preservative, one base coat, two top coats. So, it actually takes longer to paint than to build! The effort is worth it: we have ten-year-old builds still looking good. For this one, though, we just applied a couple of coats of clear preservative to hopefully keep the bugs at bay. We did this before assembly.
This wood is a lot denser/heavier than the spruce we are used to. Presumably that is the secret to its longevity. Each part is much heavier than it looks.
We started by putting together the ring beam — four pieces of timber which are screwed together to form the square that will sit on top of the four posts and support the roof.
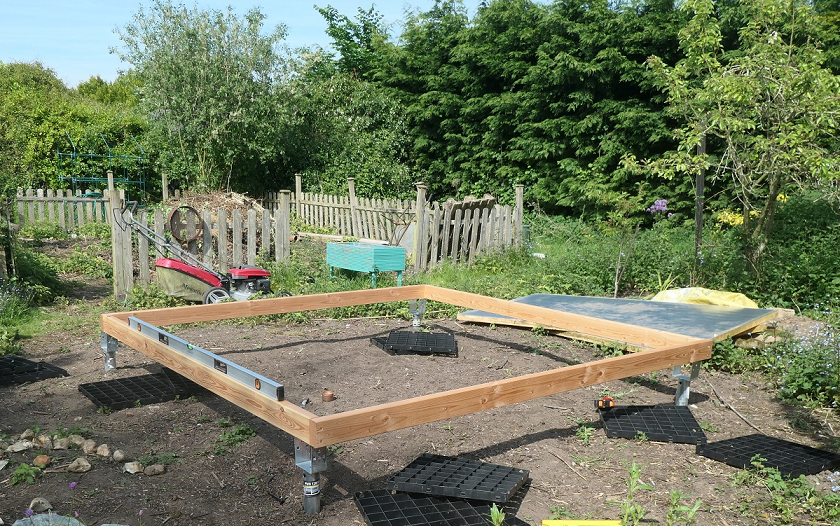
One of the four pieces was slightly warped. That's wood for you — reminds me why I preferred metalwork at school: metal is predictable — but it will not be an issue: we can pull it in, if necessary, using the rafters.
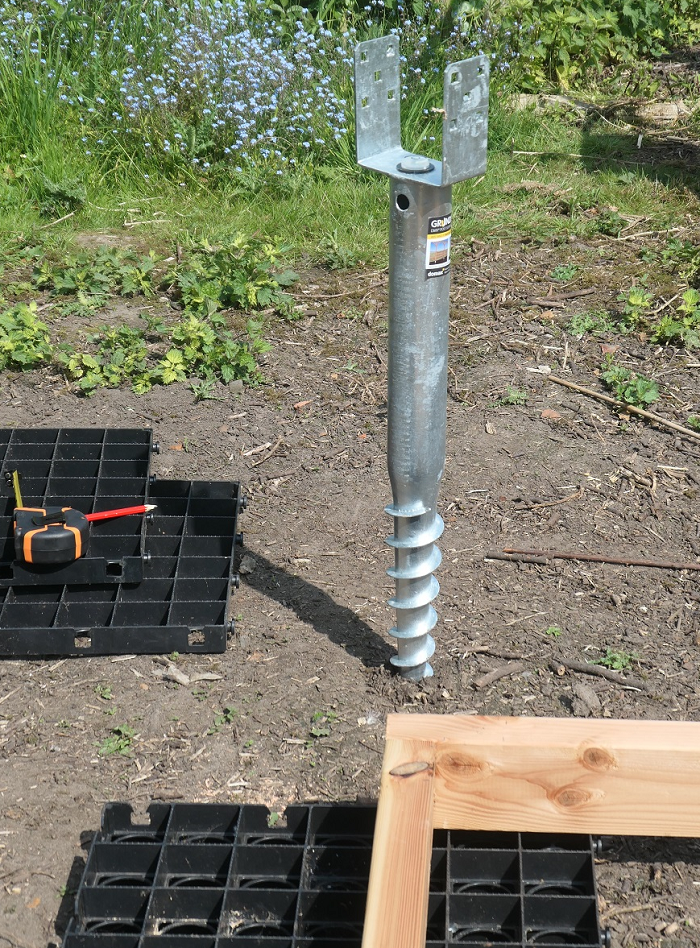
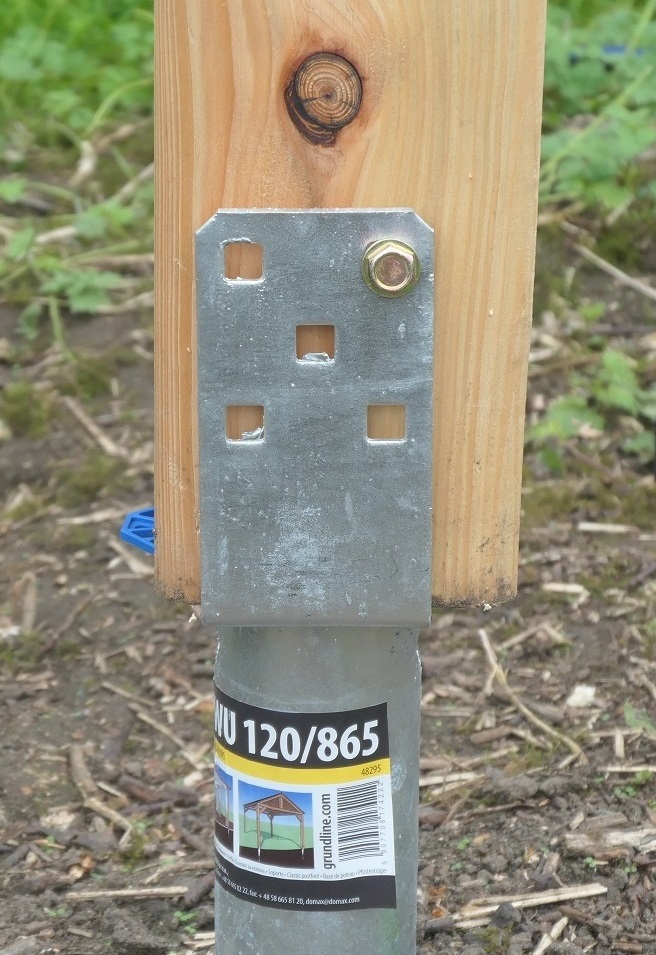
We used the assembled ring beam to mark where the posts were to go. We are installing on soil and, as the ground is quite unlevel, rather than spend time levelling, we are using ground anchors — essentially big screws that are screwed into the ground — that will allow us to set the level.

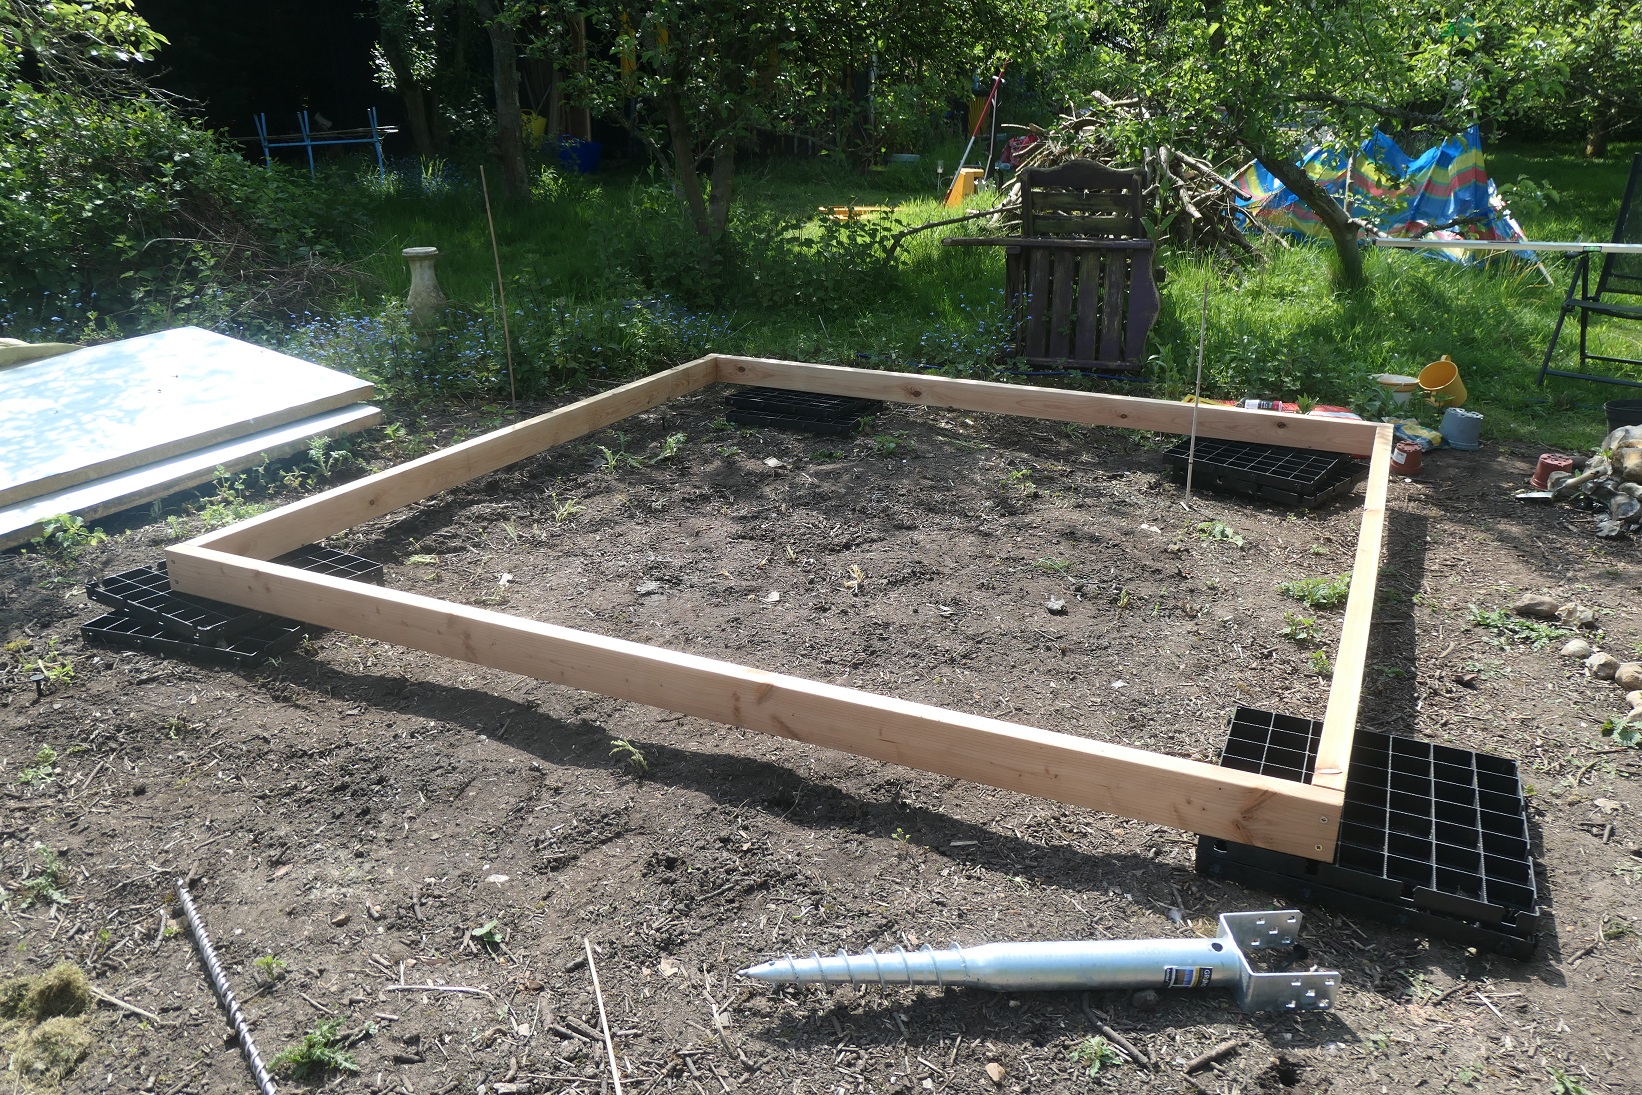
For the ground screws that we have chosen, there is not much leeway (only 5mm in one direction and maybe 10-15mm in the other), so accurate placement is key here. After the gazebo is erected, we will install a wooden deck to compensate for the uneven ground.
Turns out it was absolutely spot-on in the 5mm-leeway direction (phew!) but in the other direction one of the anchors was 10mm out after it hit rocks — there's a lot of flint in the ground here — so luckily still within tolerance.
Before installing the ground anchors we used a long 22mm drill as a pilot to check for any major obstructions.
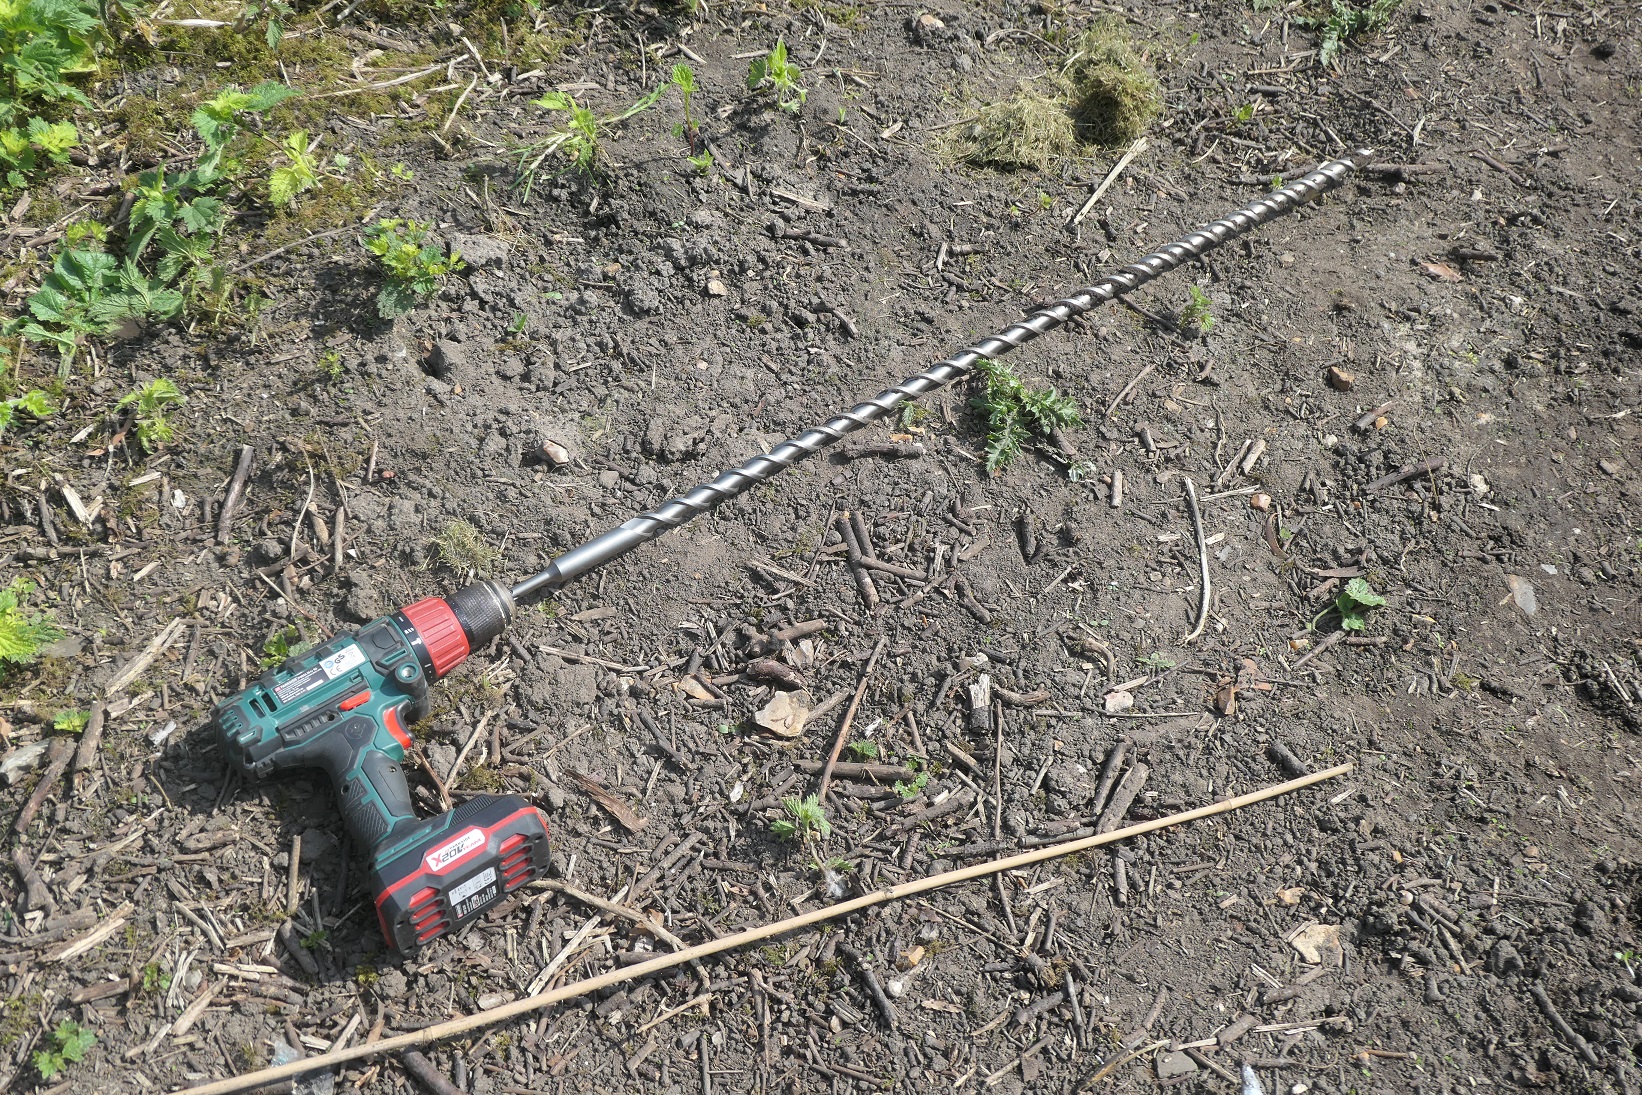
As we are way out in the sticks we don't have to worry about underground services. There's no mains gas here and no mains drainage; the electricity is all overhead. There is mains water (we are not savages, after all), but that is over 50m away. After installing them, I did wonder if we should have scanned for unexploded ordnance given that we are only a mile away from a World War II airfield, but we survived.
The spirit level from our campervan came in handy here: keep the dot in the middle and it's level in all planes.

As we are building using just two old decrepit persons rather than a team of muscle, we are applying brain-over-brawn principles. Anything is possible if you plan beforehand, and think outside of the box to come up with alternative techniques. However, I still wonder how we managed the Olaug cabin between the two of us: there is a hazy image of someone up a 4m high ladder trying to balance a 5m long rafter, which I may have blocked from my memory due to trauma :-) but I digress.
After the ring beam was assembled we raised it off the ground at one side to a 45-degree angle.
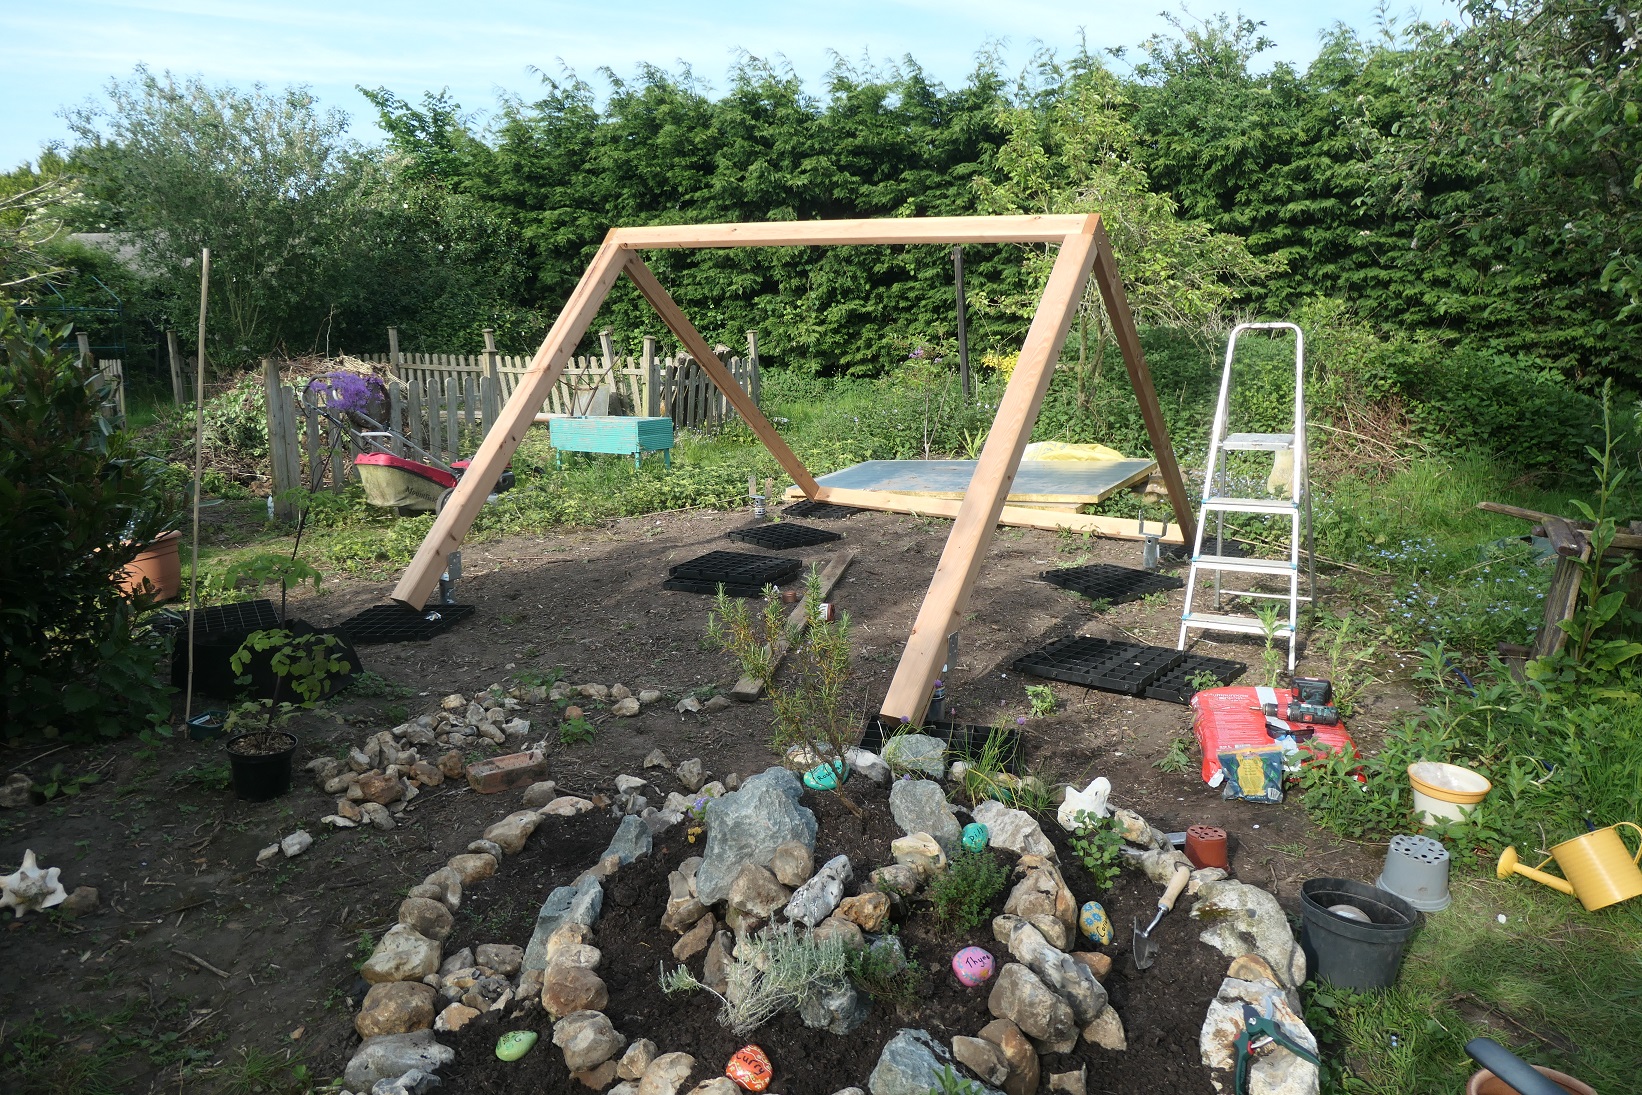
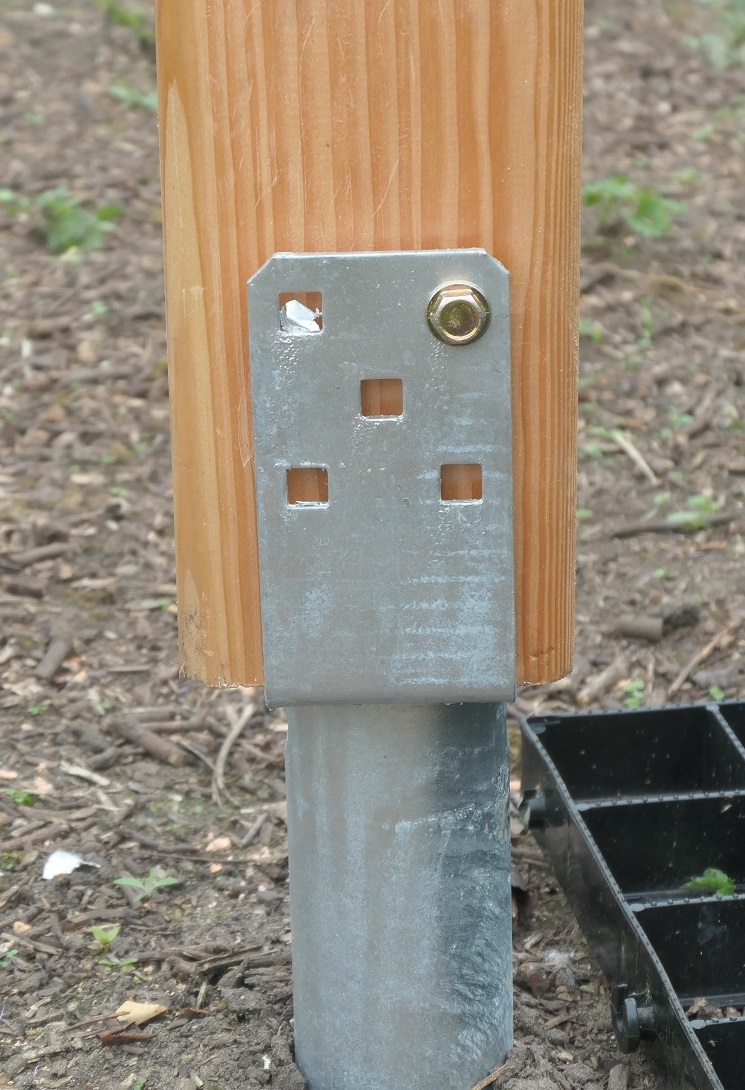
We secured two of the posts to it (each of those we can just about manage to lift with one person), then we raised the structure up for the other two posts to be affixed. After that we lifted the structure onto the ground anchors — we thought that might be tricky, but at this point there was enough flexibility to raise one side at a time. At that point we temporarily lashed the posts to the ground anchors to prevent them from slipping off and then installed the braces, connecting the top of the posts to the ring beam (which reduces the flexibility of the structure).
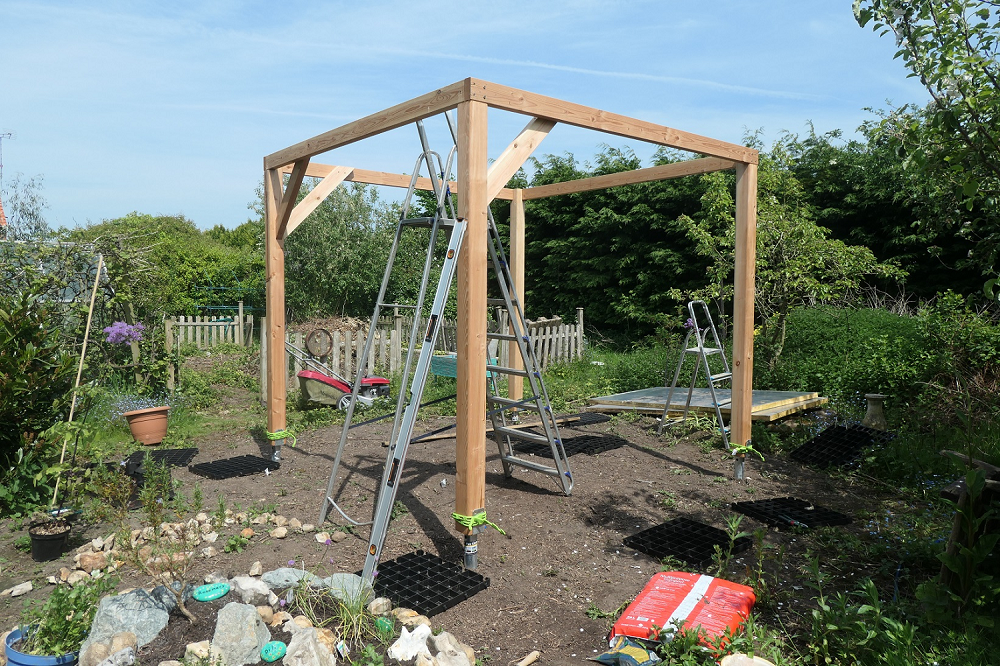
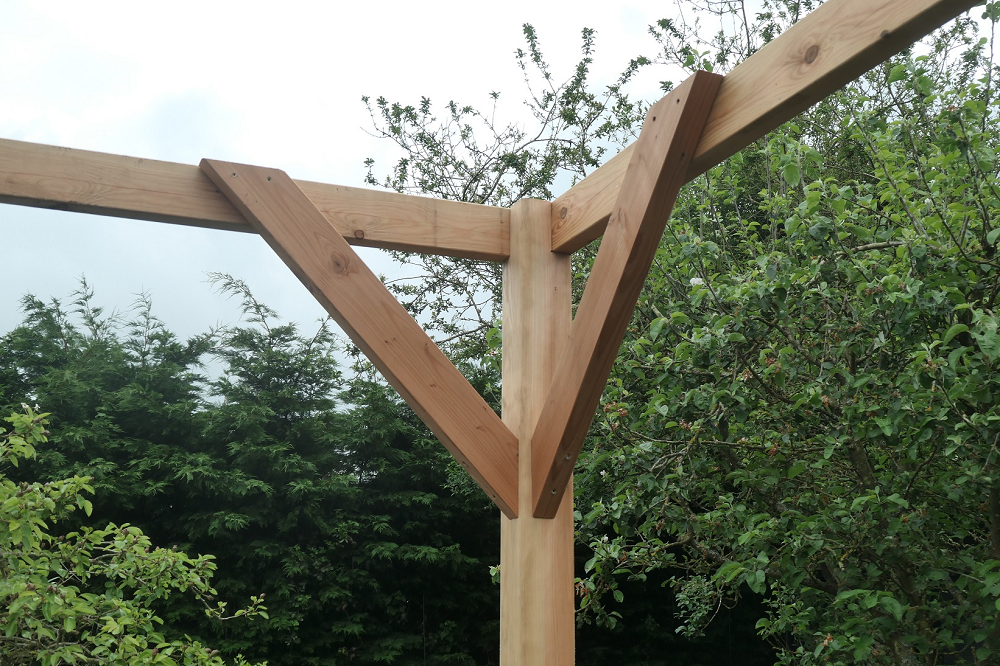
Now for the roof structure. The plans suggest you assemble it on the ground, then lift it onto the ring beam. Well that would require a team of mighty strong people or a crane, which we don't have. So, following Tuin's helpful online tips, instead we assembled it in situ. On the ground we joined one corner rafter to the kingpin and predrilled the other three, numbering them so that each would be put in the same place when reassembled to allow for differences in the drilling, which was done by sight rather than measured.
Then we used our lightweight alloy tower, which has proved a big help on so many projects, to stand the kingpin on (with one corner rafter attached). We then installed the other three corner rafters. We temporarily lashed each one to the ringbeam to stop it from shifting while we did this.
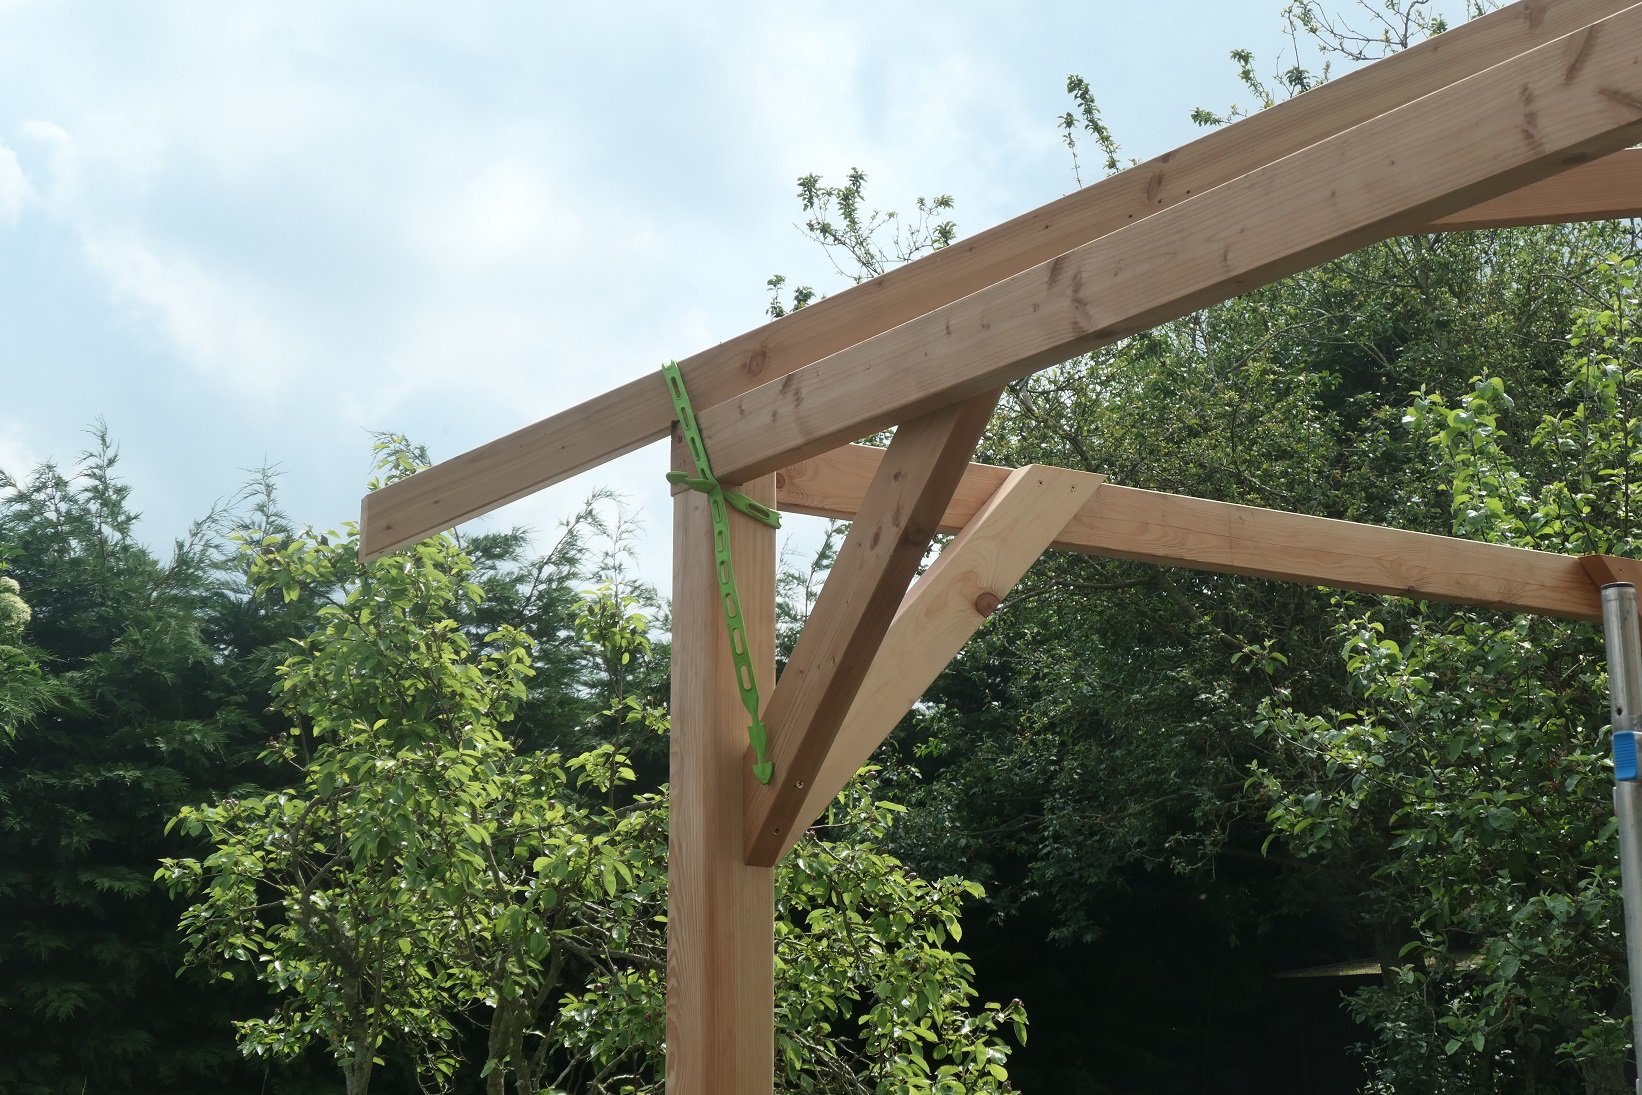
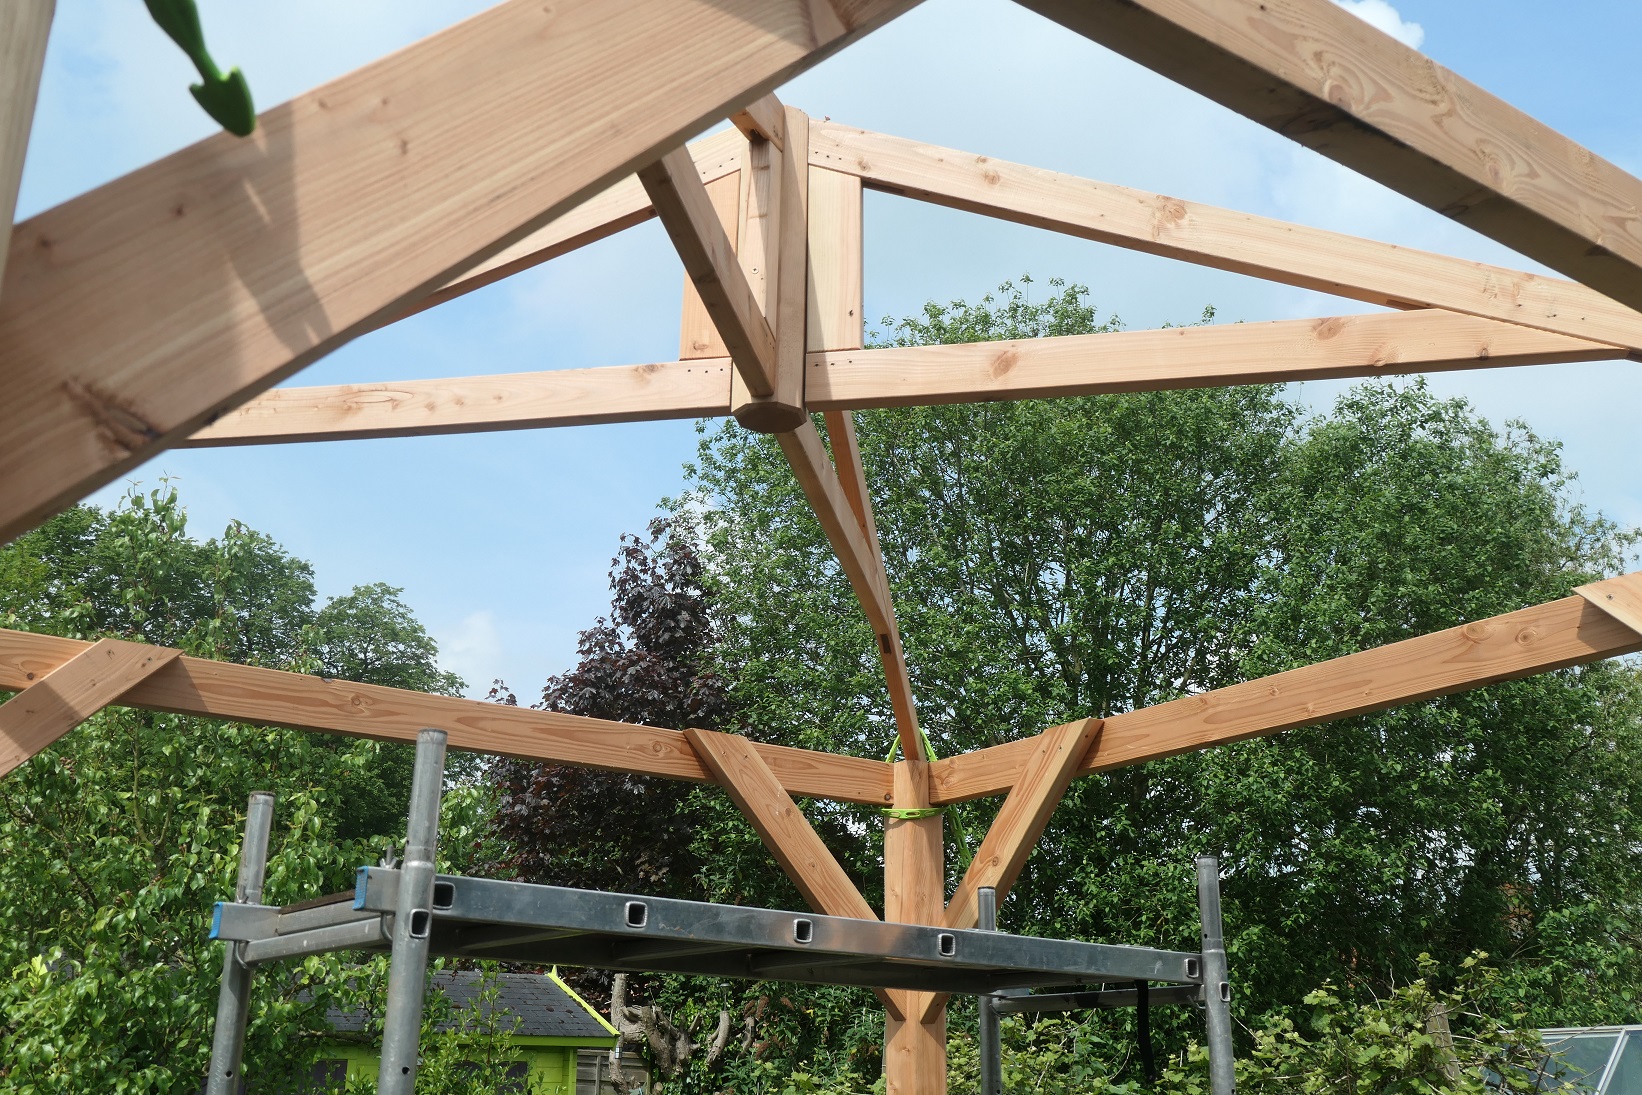
Three of the corner rafters were millimetre perfect, the other's notch fell short of the outside of the ring beam, so we attempted to stretch it to fit, using a bar designed for fitting laminate flooring lashed to the post as leverage and left it overnight (which was handily damp and foggy). As if by magic, next morning it dropped beautifully into place.
Next it was time to fit the side rafters, which was straightforward. We marked the midpoint on each of the ringbeam members and screwed each side rafter to the kingpin after aligning with the midpoint.
Now we set about screwing each rafter into the ringbeam, checking that the side rafters on opposite sides extended by the same distance. This is where you need a longer than normal drill bit to pre-drill the hole (about 120mm long, I think). The fixing pack supplied by Tuin included screws long enough for this job.
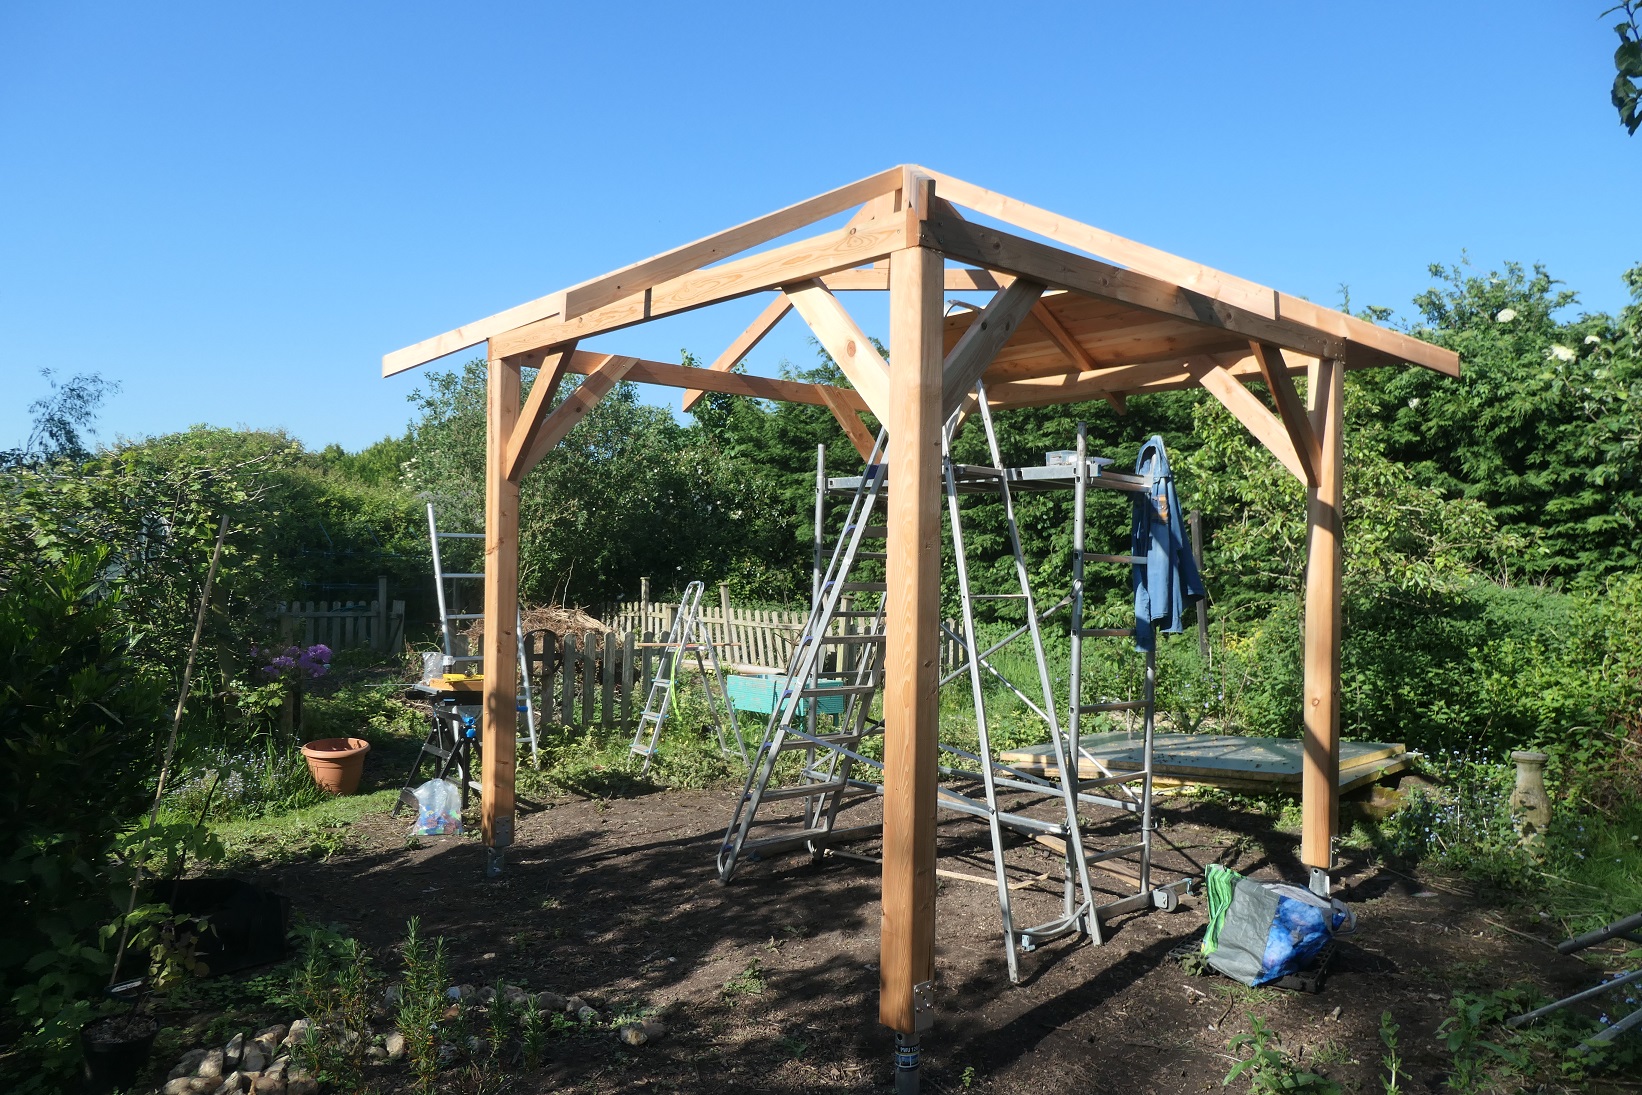
As everything checked out as aligned and level, we now fully bolted the posts to the ground anchors with 50mm coach screws.
The next task was to fit the roof boards and there's a lot of 'em (64, I think). This is where we make our only mistake, setting the first board about 10-15mm too low i.e. not aligned with end of the rafters, so it would not be possible to fit fascias. After fitting a few boards, it was obvious that they were therefore slightly too short to comfortably span the gap, so we refitted in the correct position slightly higher up. Luckily we were screwing the boards rather than nailing, so it was straightforward to adjust.
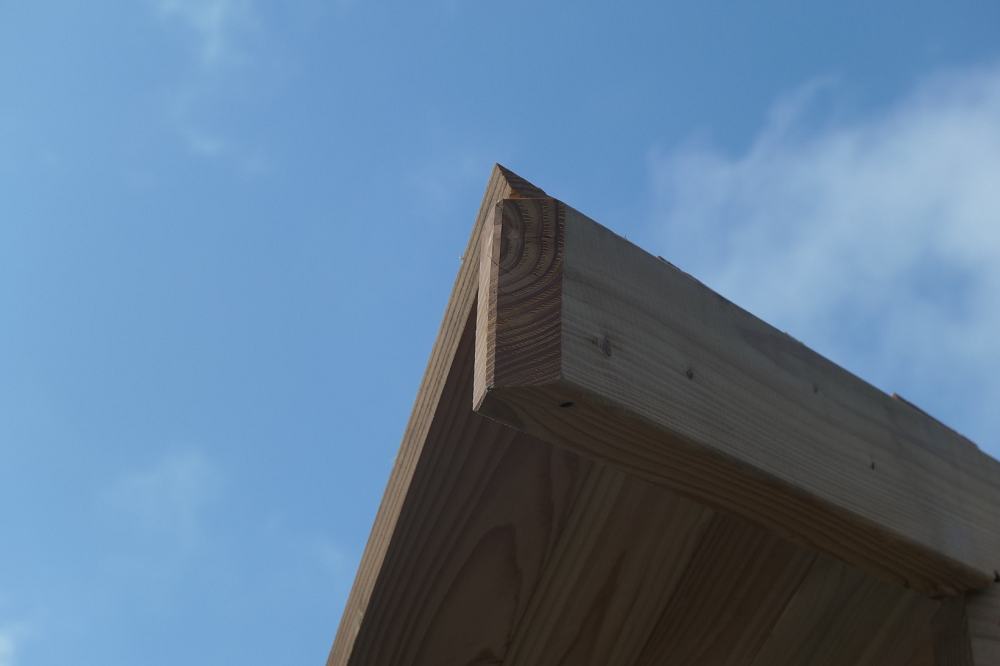
The decision to use screws rather than nails was taken to avoid splitting the wood. Larch seems very easily splittable. Even though we have pre-drilled for every screw, we have still suffered a couple of minor splits.
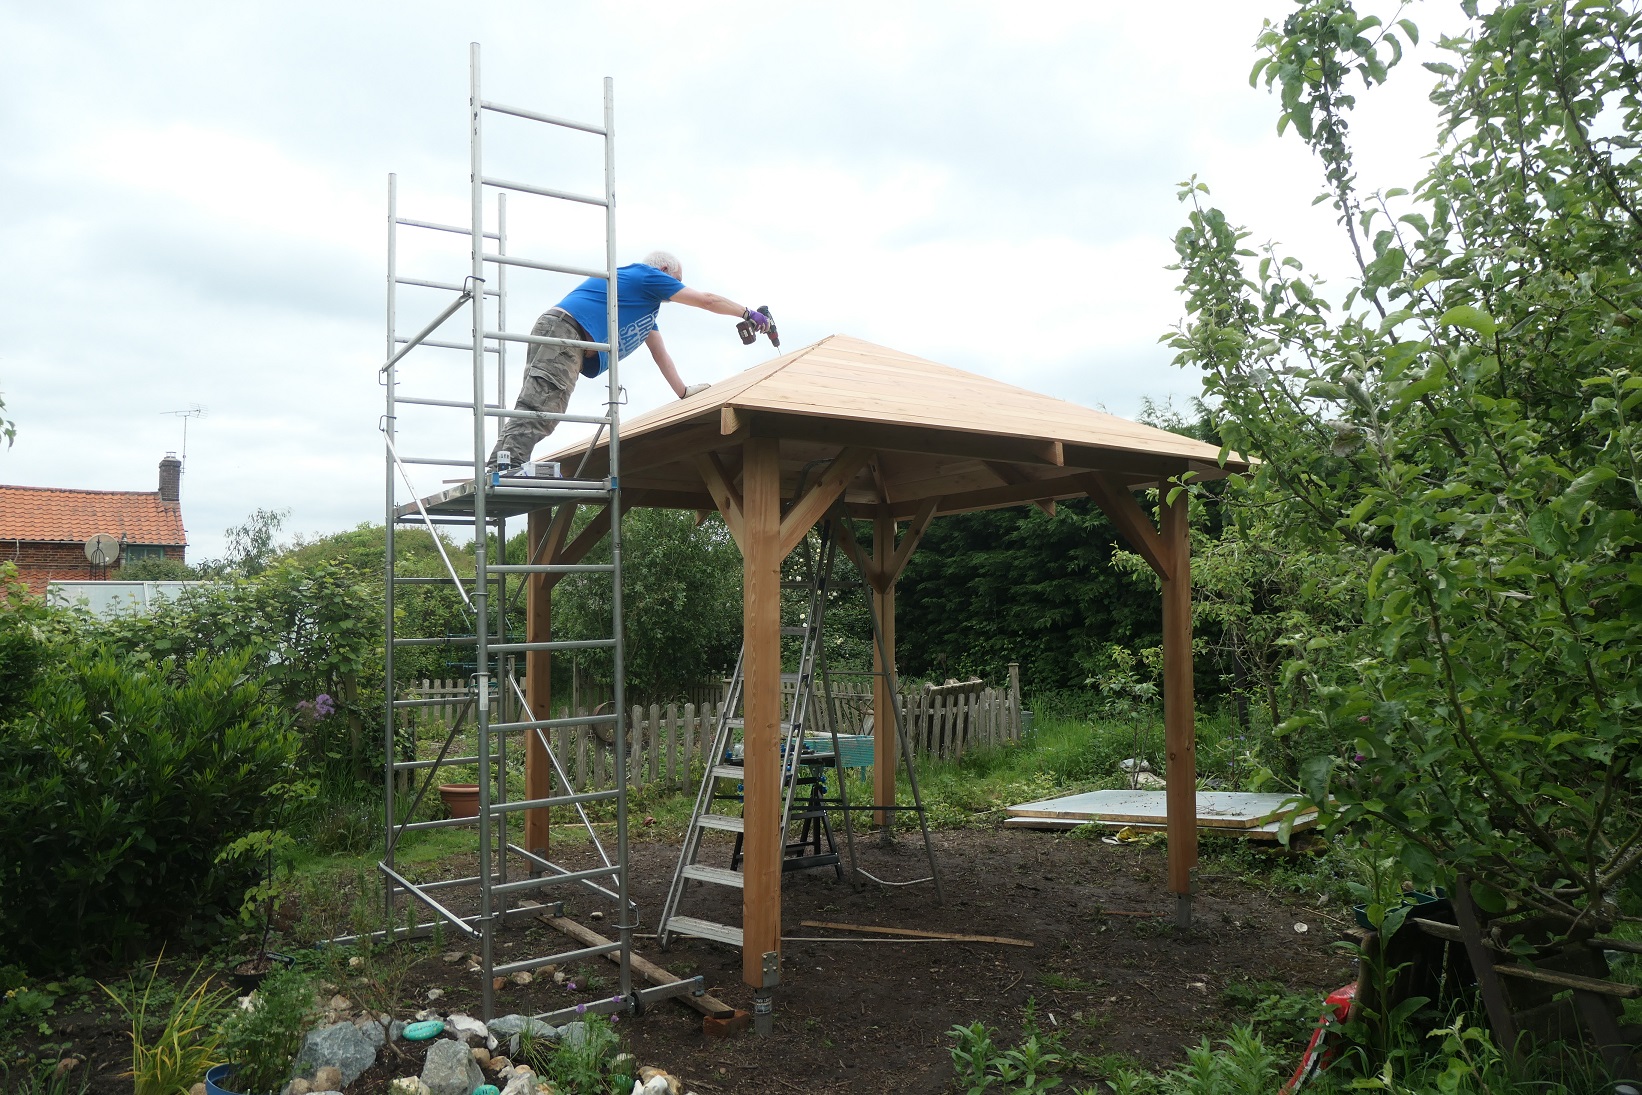
After the roof boards were fitted, it was time for the fascias. The plan did not include fascias, but we were pleased to find they were included in the kit, as we think the gazebo looks much neater with fascias and they will also allow us to easily fit guttering (given this year's rainfall to date, that will be a must-have!). We had to trim these: they are supplied slightly over-length, presumably to allow for any discrepancies in your build and to allow for either a mitre joint or a butt joint. We did not have to trim any roof boards, so this was the first time the saw made an outing.
So now the structure is complete and it's time to apply the shingles. Not my favourite job: it seems to take ages. Good job they have a very lengthy lifespan, I say. On a pyramid roof like this, it's even more frustrating. At least on most cabins you can get a good head of steam going on the straight runs and only have one ridge to deal with. Whereas, on a pyramid roof it seems you are always cutting, and then there are four ridges to deal with here. Did you get the impression I got a bit bored at this stage? I always worry I won't have enough to finish it too — I have never actually run out. But when you start, they seem to be being used up at an alarming rate, probably because of the double layer needed for the first row. Obviously the lengths needed reduce as you go up, so it starts to get less worrisome.
Fitting the shingles was interrupted by the great British weather: two days' torrential rain and thunderstorms left the site looking like a swamp and standing on a metal ladder during a lightning strike did not seem like a good idea. Indeed the storm was enough to trip the household RCD, so we lost power until reset. I love a British summer.
Well the rain and thunderstorms finished... to be replaced by gale-force winds. I was up the ladder when a 40mph gust ripped a shingle right out of my hand. I fitted a few, then gave it up as a bad job again. Honestly, it was better building in winter in the ice and snow — at least it was predictable.
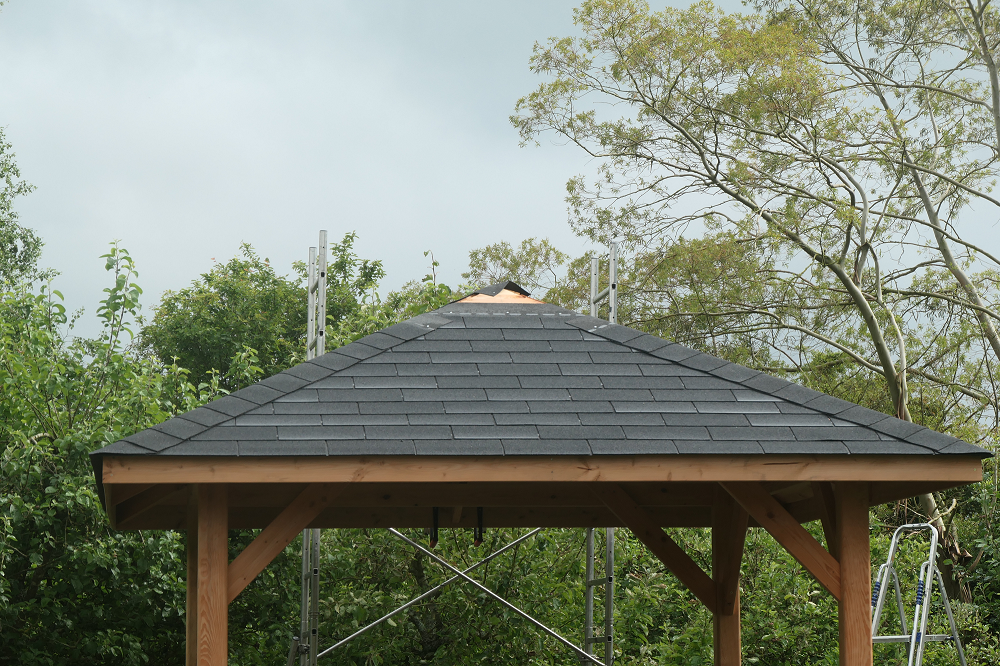
Nearly there now with the shingles. I can't quite reach the top — if I were 6'6", I reckon I could manage it. But I'm not. I could blame Pythagorus: as I get higher, the angle gets worse. Or I could blame my 4'11" granny for adversely affecting the gene pool (harsh). Anyway, looks like I have to come up with a way of accessing it.
For a bog-standard cabin, I'd just use a roof ladder with hooks that go over the ridge, but that's not an option here. Even if the hooks went either side of the apex, the ladder would rest on the part you were trying to shingle.
I have a small lightweight aluminium ladder. I screw a couple of large hooks to the inside of the ring beam, protruding outwards for the ladder to rest on. It's not relying on the screws, which are only small 30mm ones: the fact that the hooks are secured inside and the ladder applying force from outside, means that the screws are just maintaining the position and the ring beam is taking the brunt. Most of the force will be downwards on the roof anyway. As a failsafe, the ladder is lashed to the platform in case the hooks fail — I did not factor in the tensile strength of the hooks :-). If I don't survive, I can either blame my physics teacher for being rubbish or myself for not paying attention in class. Health & Safety would be appalled whatever.
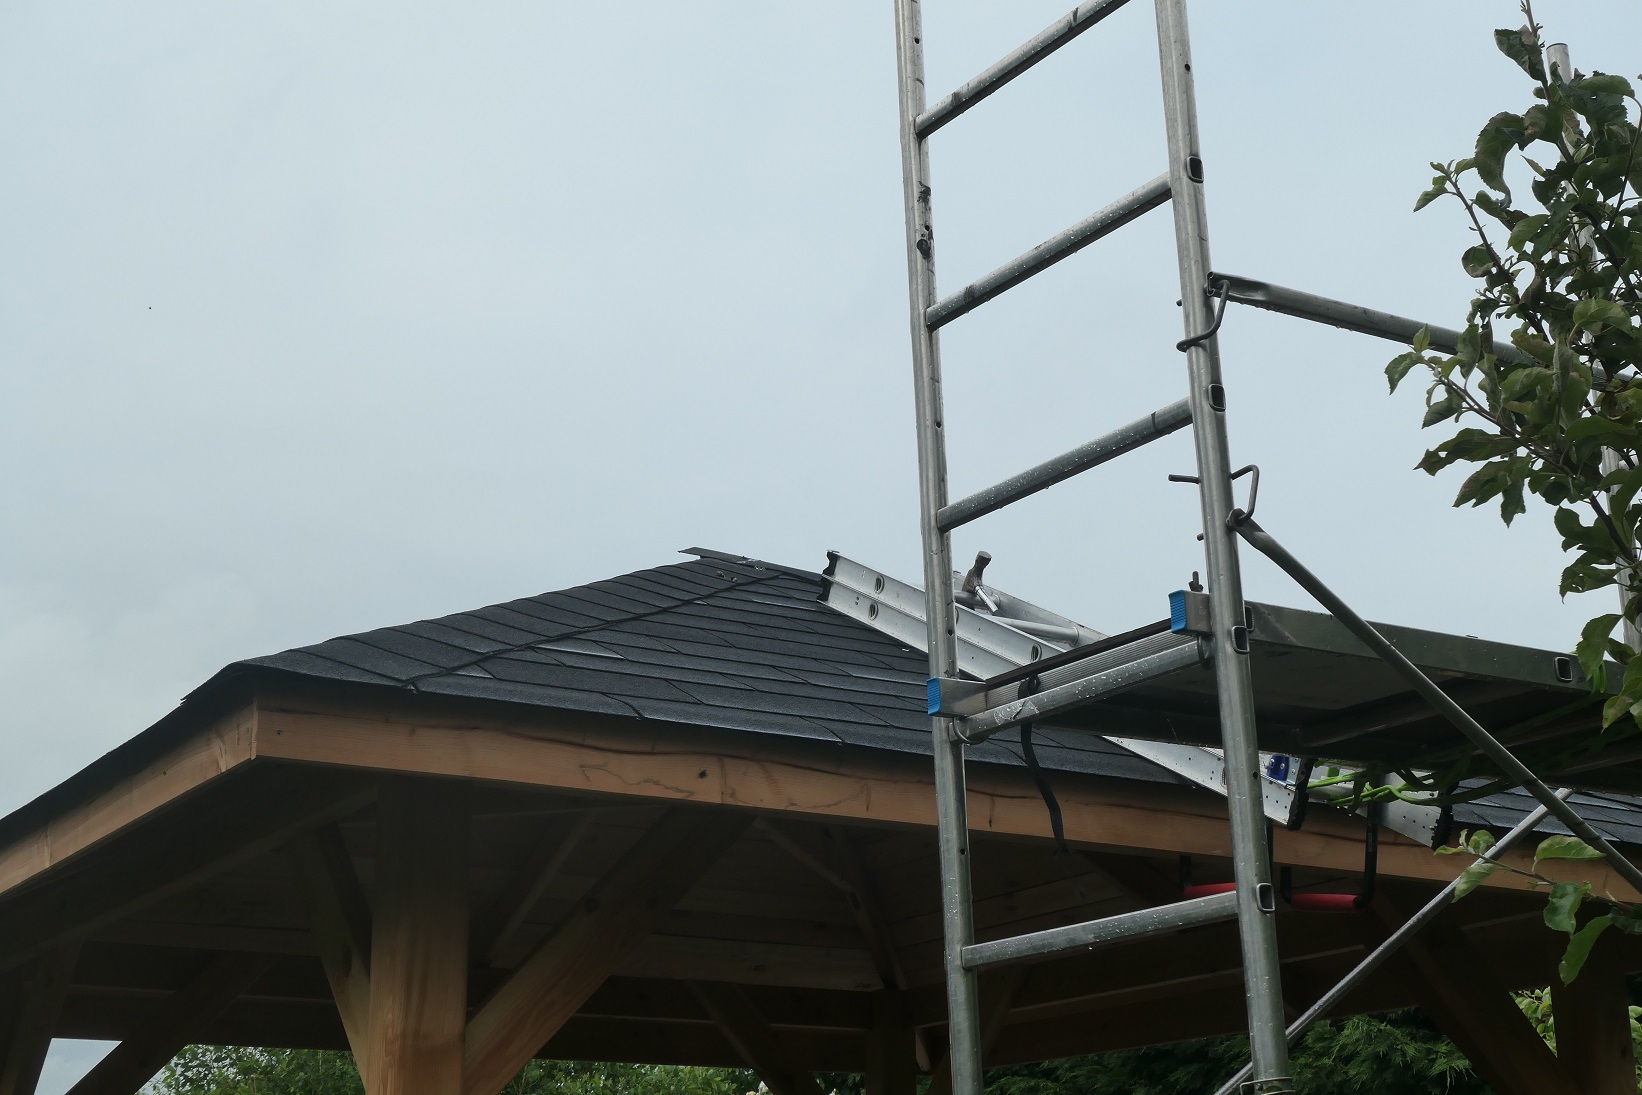
I am stil alive and the roof is complete.
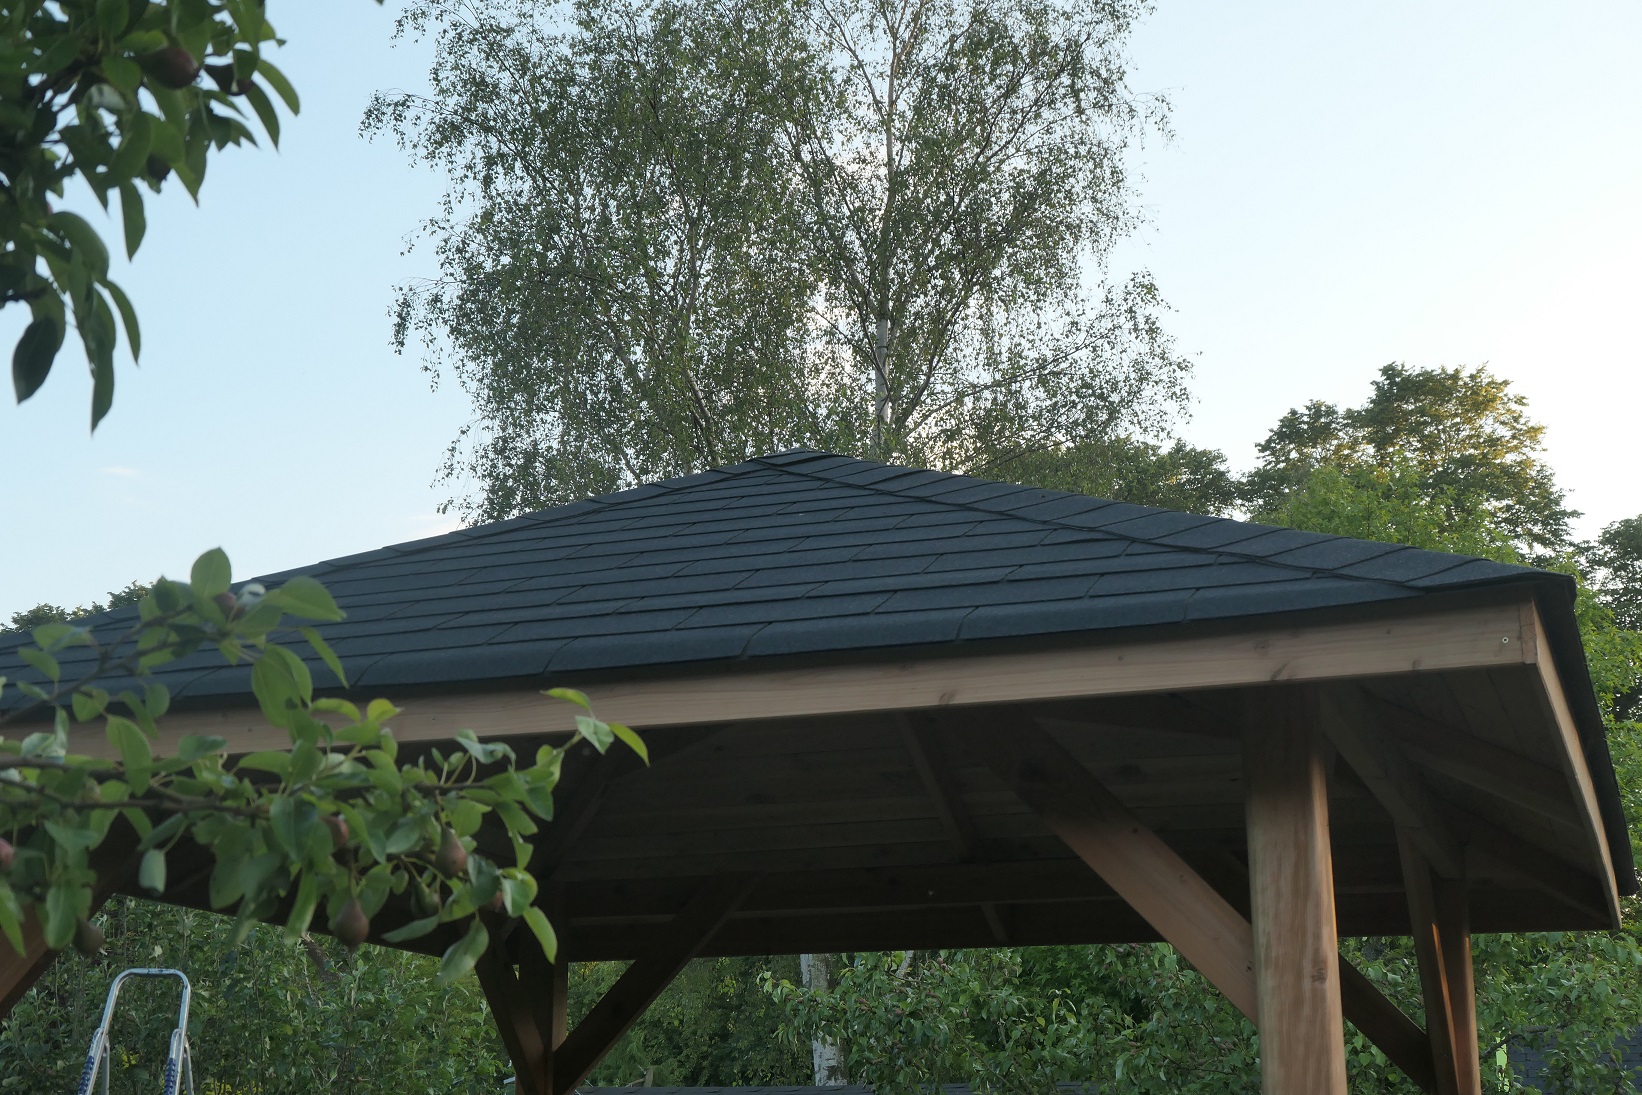
For the pointy bit on the top, I went freestyle. There is no right way. I worked on the basis that a) it has to be watertight b) it has to look ok from the ground c) nobody is going to go up there to check on the aesthetics.
Now to build a deck. That's not part of the kit, although I think it's an option. We used pressure-treated 4x2 to build the frame, using pieces of fence-post to make the legs of varying length to cater for the uneven terrain.
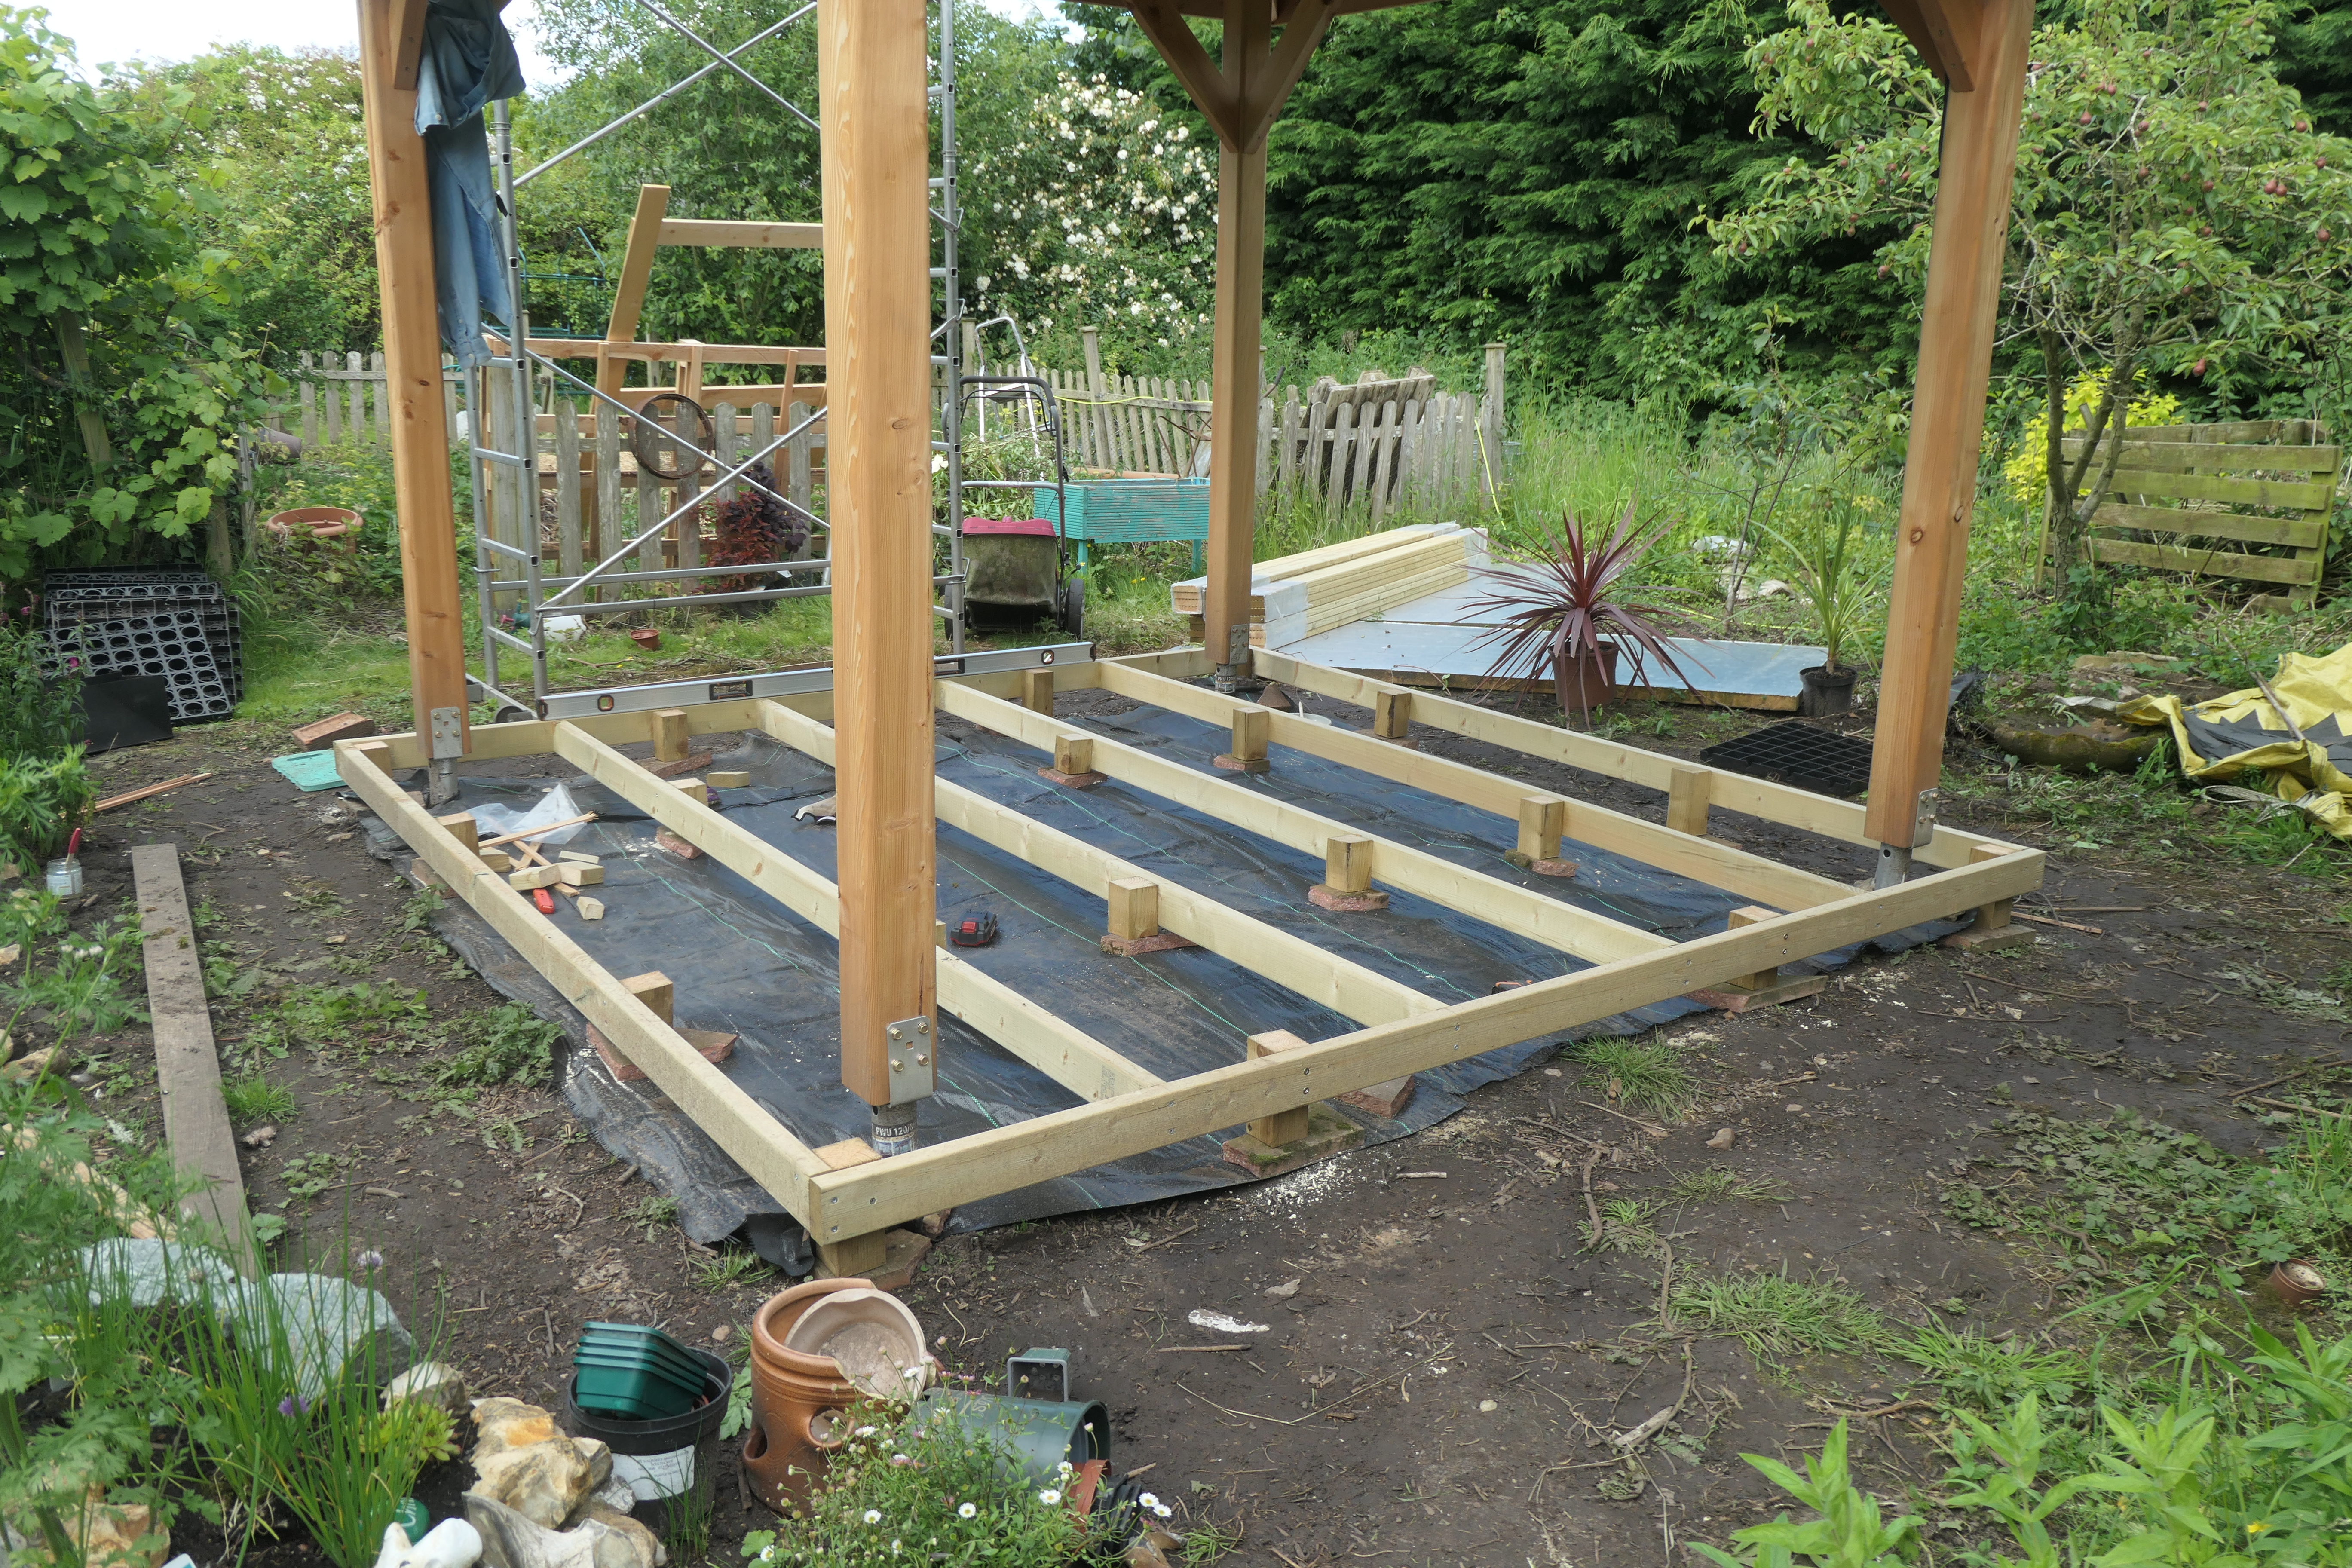
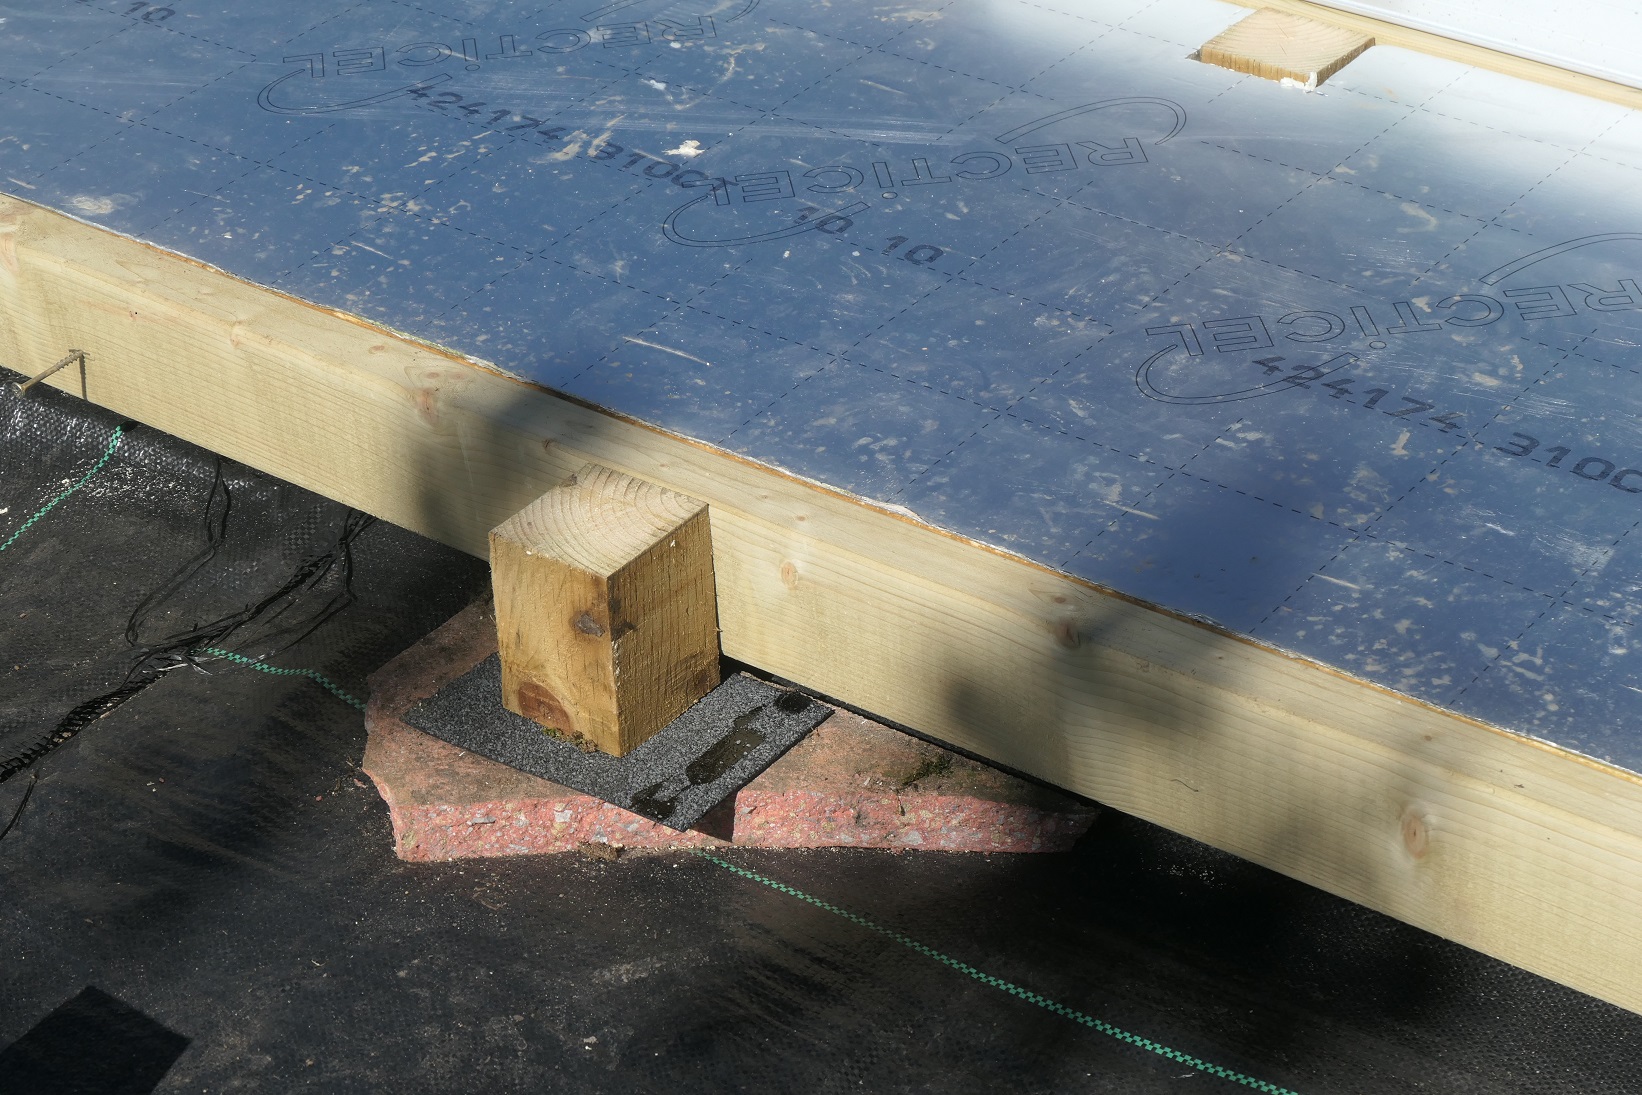
The legs stand on pieces of old broken paving slab and offcuts of shingles (never throw anything away).
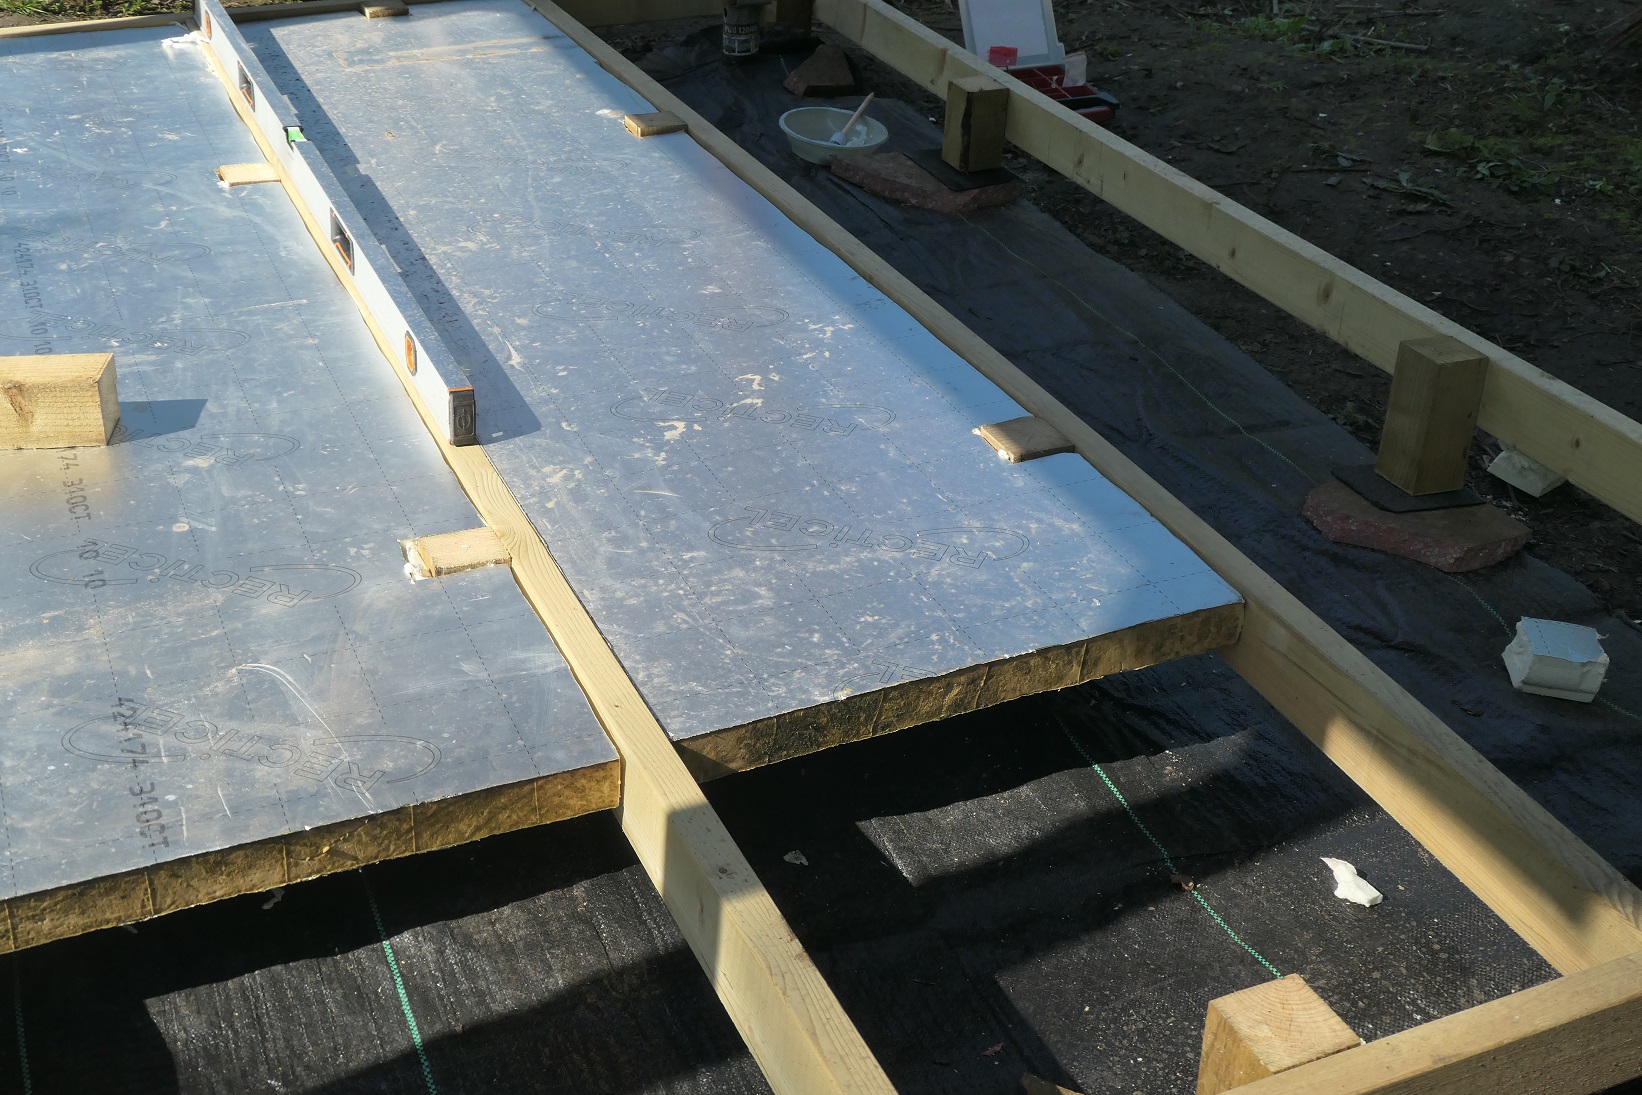
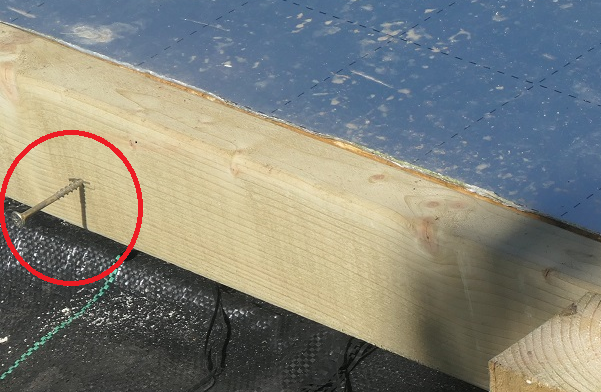
We had some insulation board left over from the last cabin build, so we thought we may as well use it up. It will hopefully keep the cold and damp from rising up. To prevent the insulation boards from slipping downwards towards the ground, we just pust some screws in the joists, poking out horizontally for them to rest on.
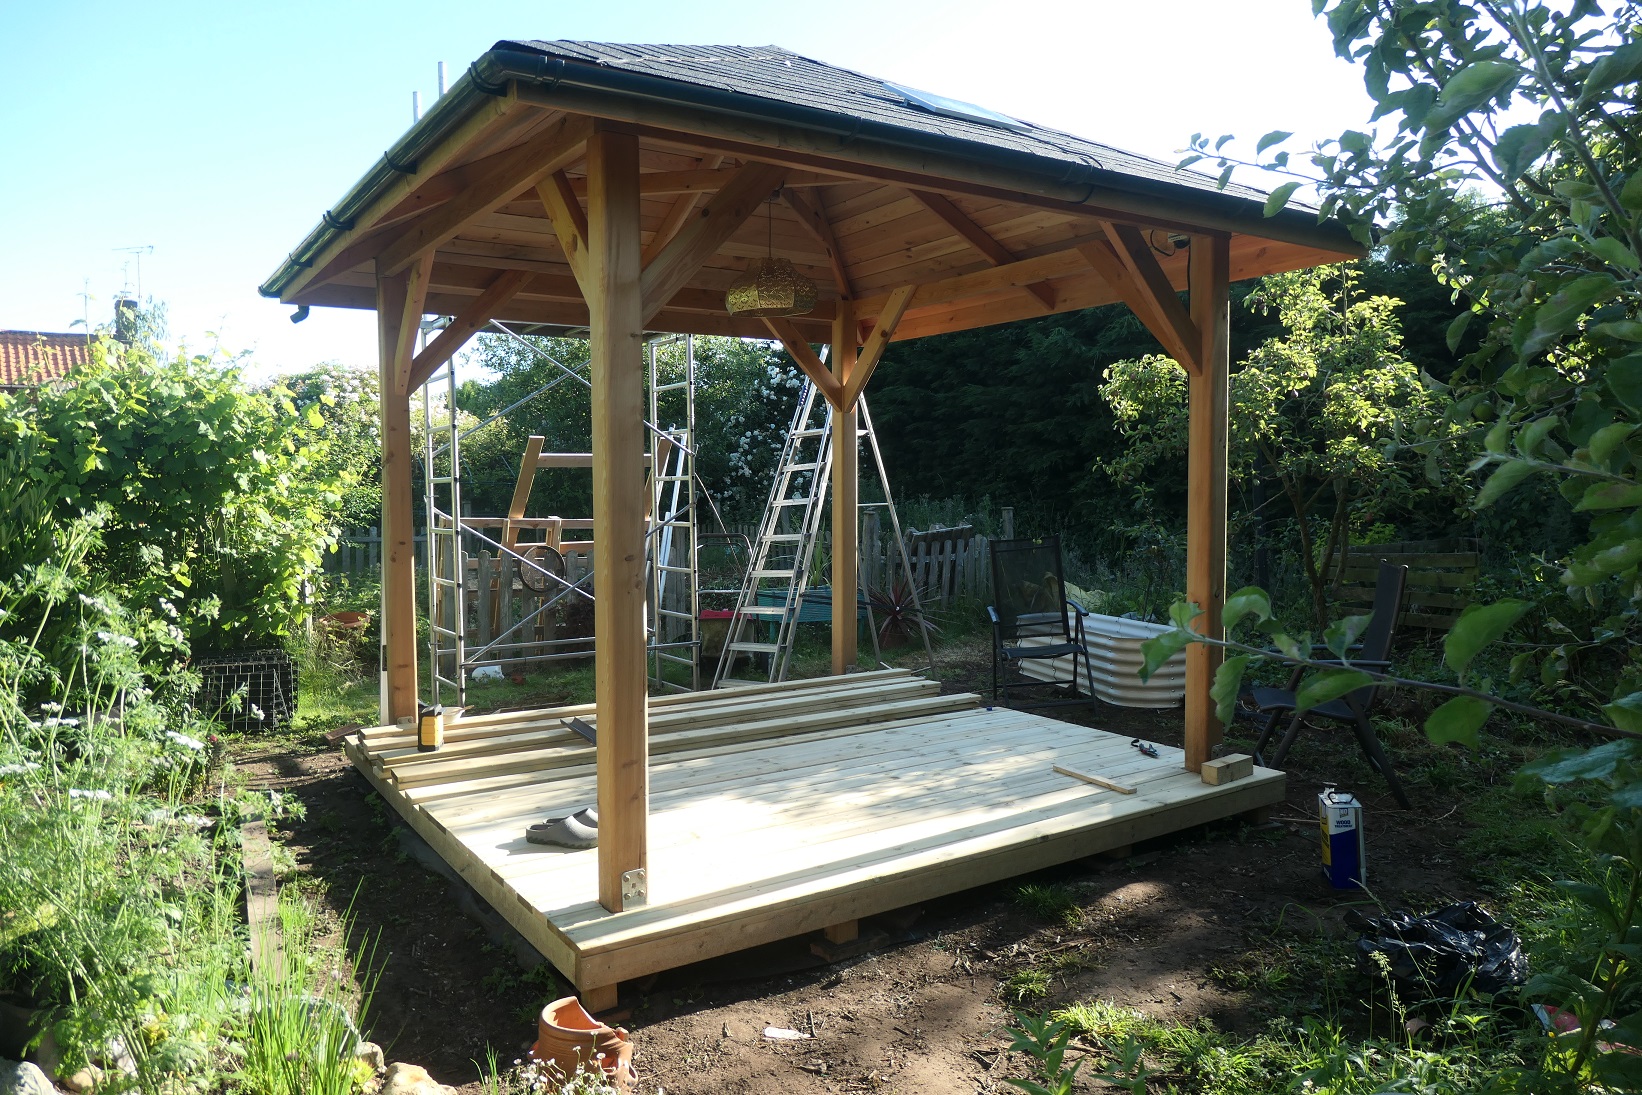
The deck is 3m square, slightly smaller than the roof. It is essentially free-standing, passing around the posts but not attached to them. We decided we preferred the smooth side of the deck boards, so fitted them grooves downward. The boards are 120mm wide and 3m equals exactly 25 boards, so no cutting involved.
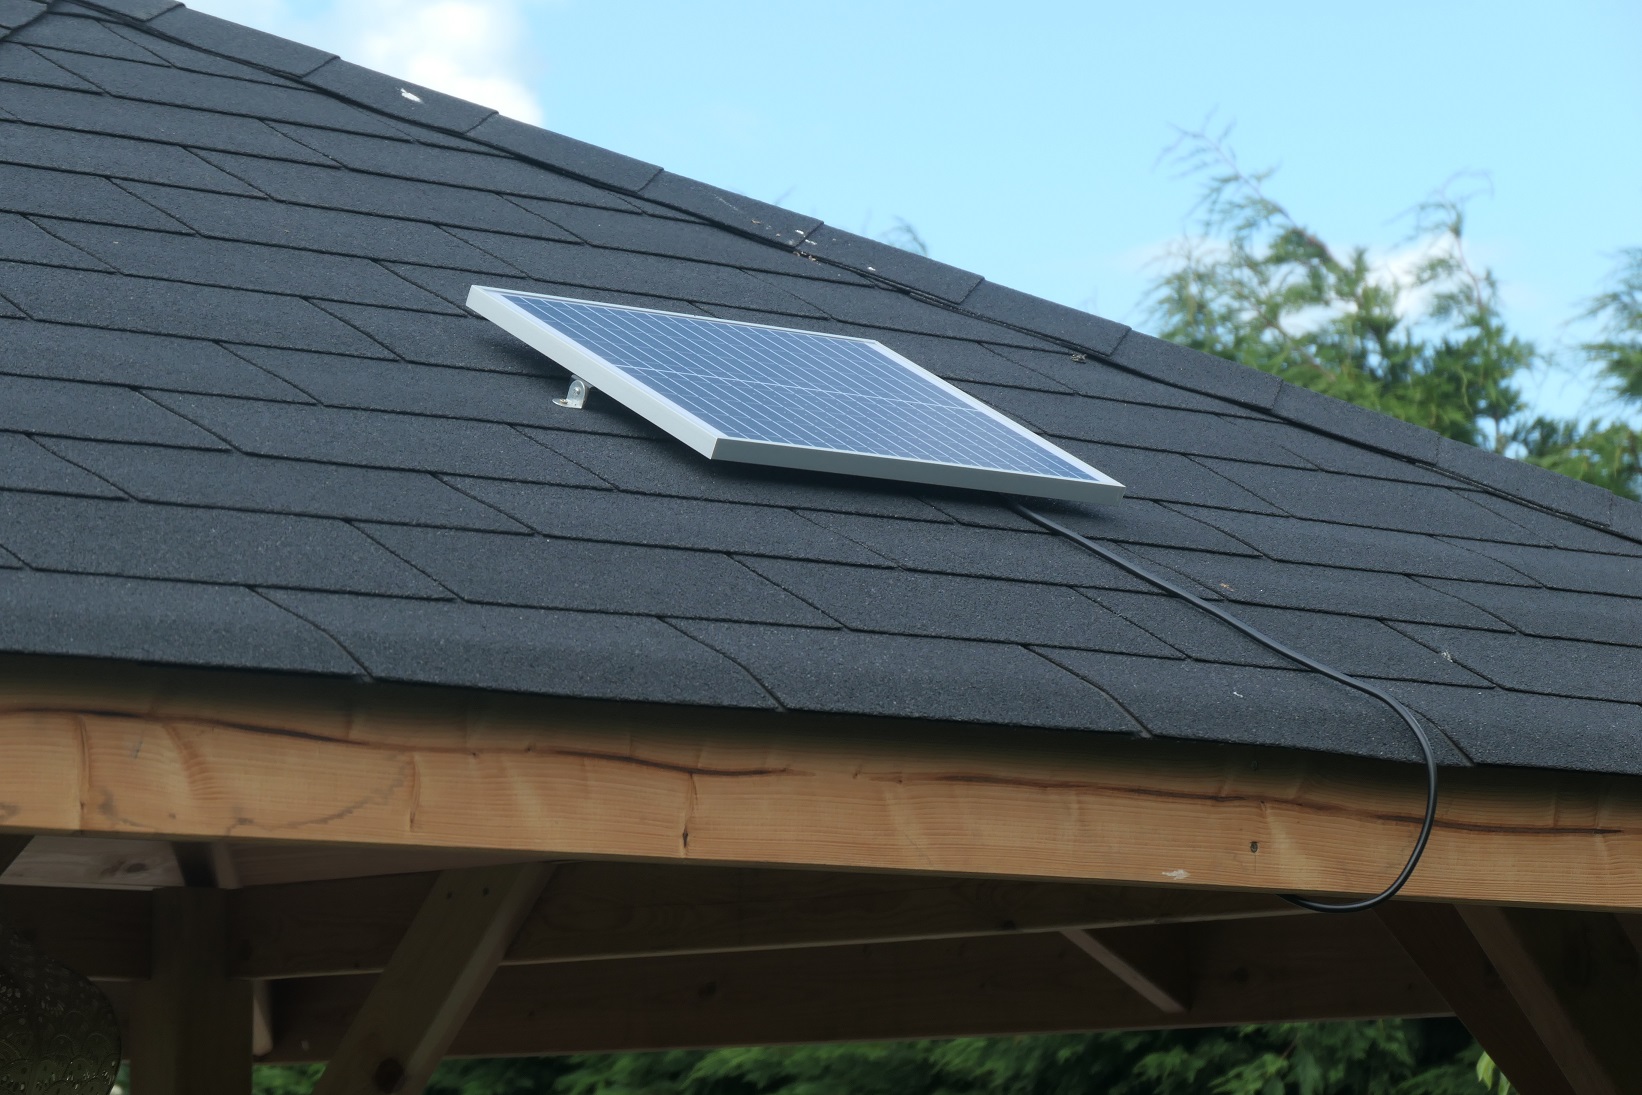
We fitted a solar panel to the south-facing roof. It's just a small 50-Watt panel, but should provide enough juice to power some lighting and a small sound system.
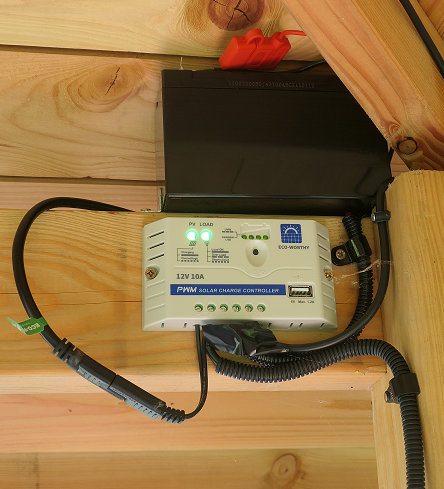
The solar panel is connected it to a regulator and a small deep-cycle (LiFePO4) battery.
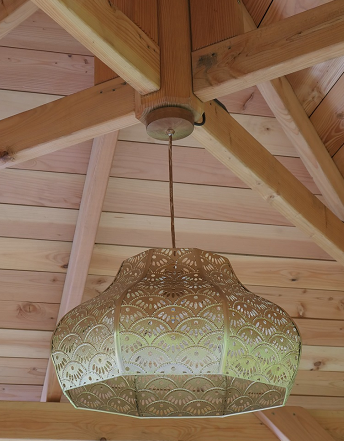
The light fitting is a cheap metal one designed for indoor use, so we have sprayed with varnish to try to keep the rust at bay. The bulb is a 12v one. It seems quite hard to find 12v bulbs to fit a standard bayonet fitting, unless you buy directly from China. Searching for marine applications helps, as they seem to be used on boats mainly. The switch is a waterproof one, designed for use on a motorbike.

We really wanted steel galvanised gutters. On the big cabin we used Roofart steel gutters, which are reasonably priced and look great, but the smallest is a 125mm profile, which would be way over the top for the gazebo. We were unable to source metal gutters in a small size, apart from paying silly money for bespoke architectural stuff. So we had to go with plastic. At least Floplast now does an anthracite grey version of their miniflow system, which looks better than the white/black/grey/brown alternatives. If your eyesight is poor, it could pass as galvanised.
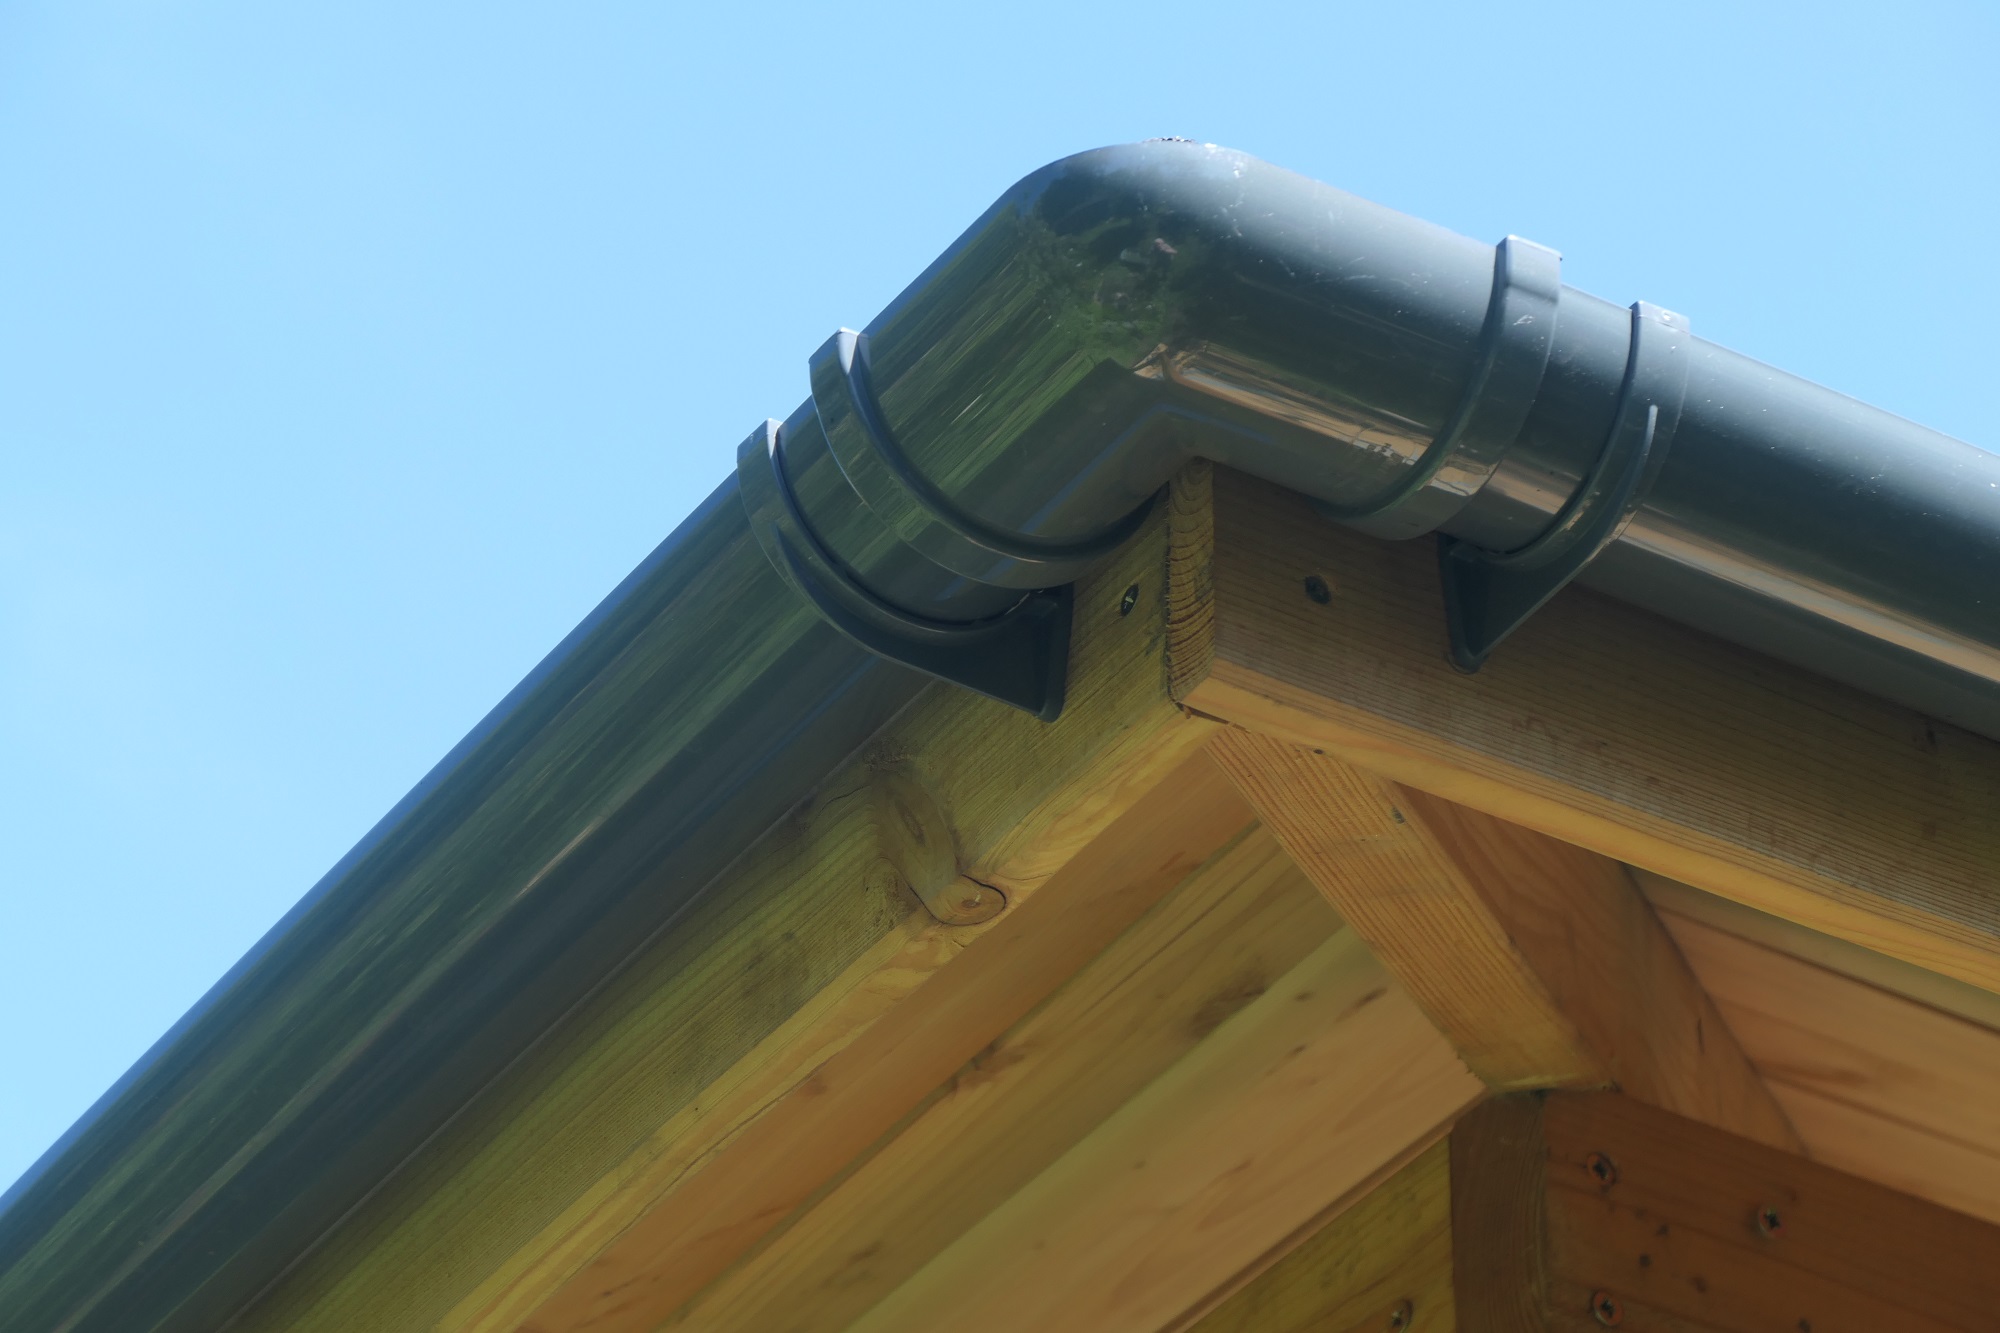
We installed the gutters with two downspouts on the northern side. Rather than using bog-standard downpipes, we are going to have a go at making rainchains. I think these are an idea from the far east: the idea is than you run a chain from the downspout to the ground and the rainwater runs down the chain. Not sure how that theory will fare in the great British weather, but we have put them in the north so that strong southwesterlys (the prevailing direction here) will at least blow the water off the chains away from the gazebo.
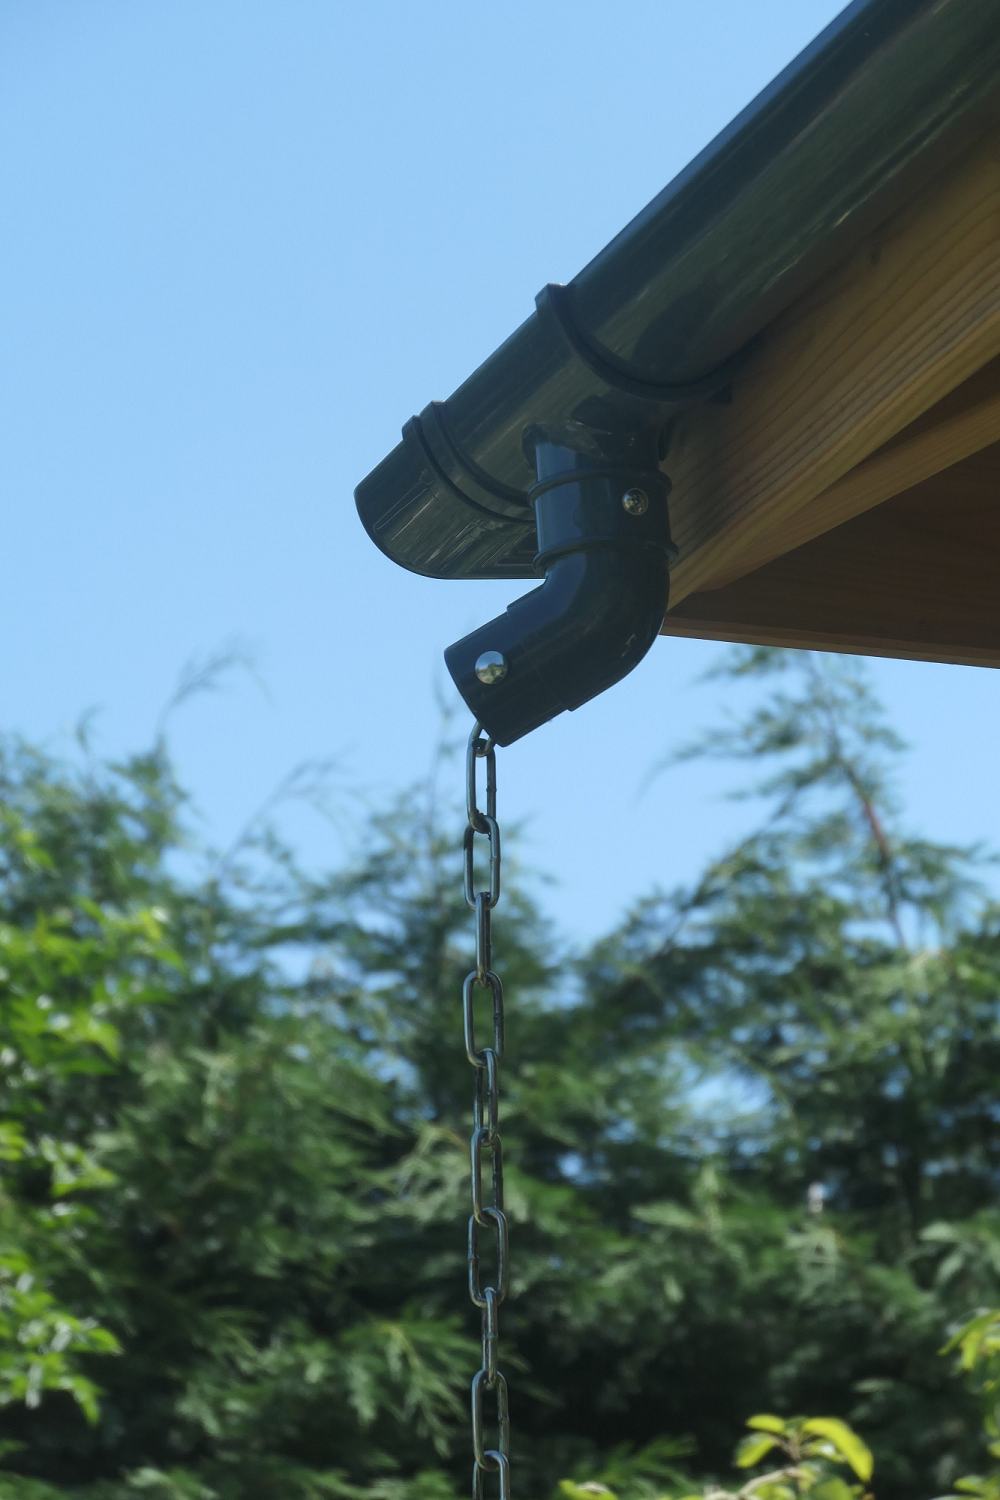
The chains run down to galvanised buckets, partially sunk into the ground, bottoms perforated for drainage and half filled with decorative pebbles to make a sort of natural water feature.

Still to do is to cover the gap between the raised deck and the ground, probably using fencing gravel boards. That will hopefully keep out the beasts. Although, by the time we do that, they will probably already have moved in.
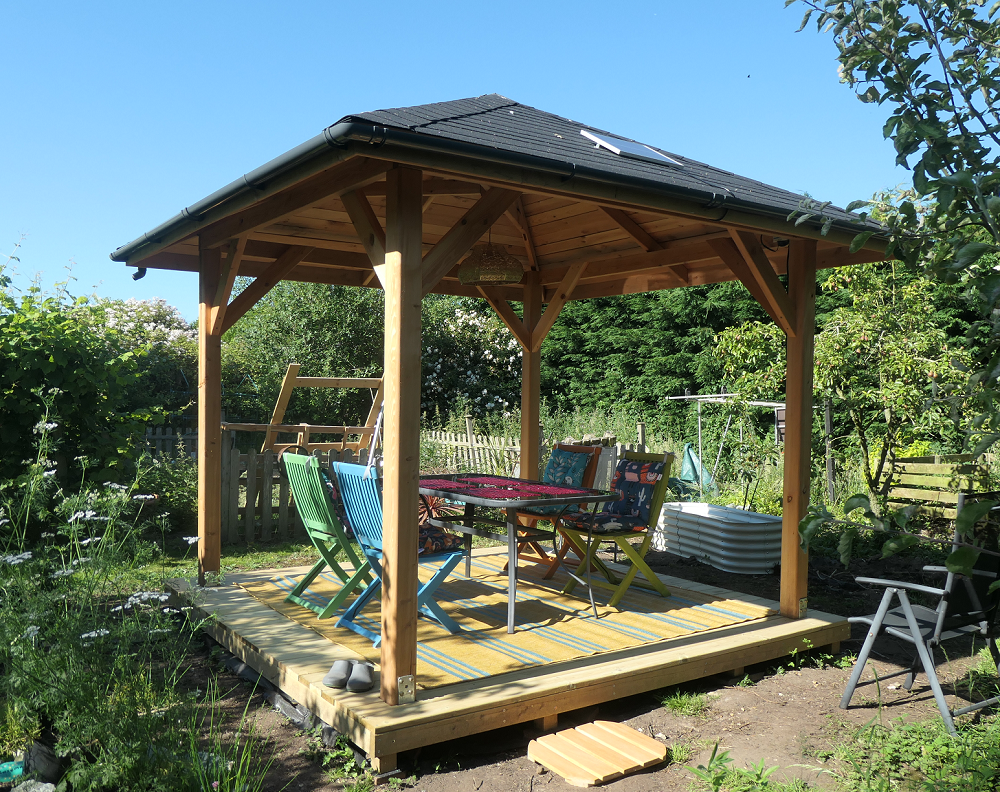
For previous buildings we have avoided a void precisely for that reason. Our location is "blessed" with healthy populations of voles. moles, mice, rats, weasels, stoats, rabbits. It is a constant case of man v. beast. We try not to intervene in the food chain, the raptors (lots of kites here) take a lot of the rodents, as do the stoats and weasels and the occasional feral cat. If any invade the house, then that's a different matter and all bets are off! The most destructive wildlife we have, though, is deer — usually muntjac — they have destroyed plants worth £100s and are difficult to keep out. Some people nearby have resorted to electric fences. But, as far as the gazebo goes, at least, they are not a problem — only the pigeons who delight in soiling the black shingles.
As far as the kit goes, we couldn't fault it. The quality was excellent and good value for money. The quality of the wood was first-class and the cuts were accurate, so that the only adjustment required was for the fascias, which are deliberately oversized. The free shingles included were great too, and way more than enough to finish the job. I may have enough left over for a log store :-).
The delivery experience was 100% good, although I guess that depends on the local delvery company.
The only downside was the delivery delay, but we were given alternative options (that we declined).